
Oh my goodness, get ready to discover your new favorite snack, appetizer, or even a fun light lunch! I am so incredibly excited to share with you what I truly believe is the ultimate game-changer in comfort food:
Mini Grilled Cheese Hawaiian Rolls An Incredible Ultimate Recipe
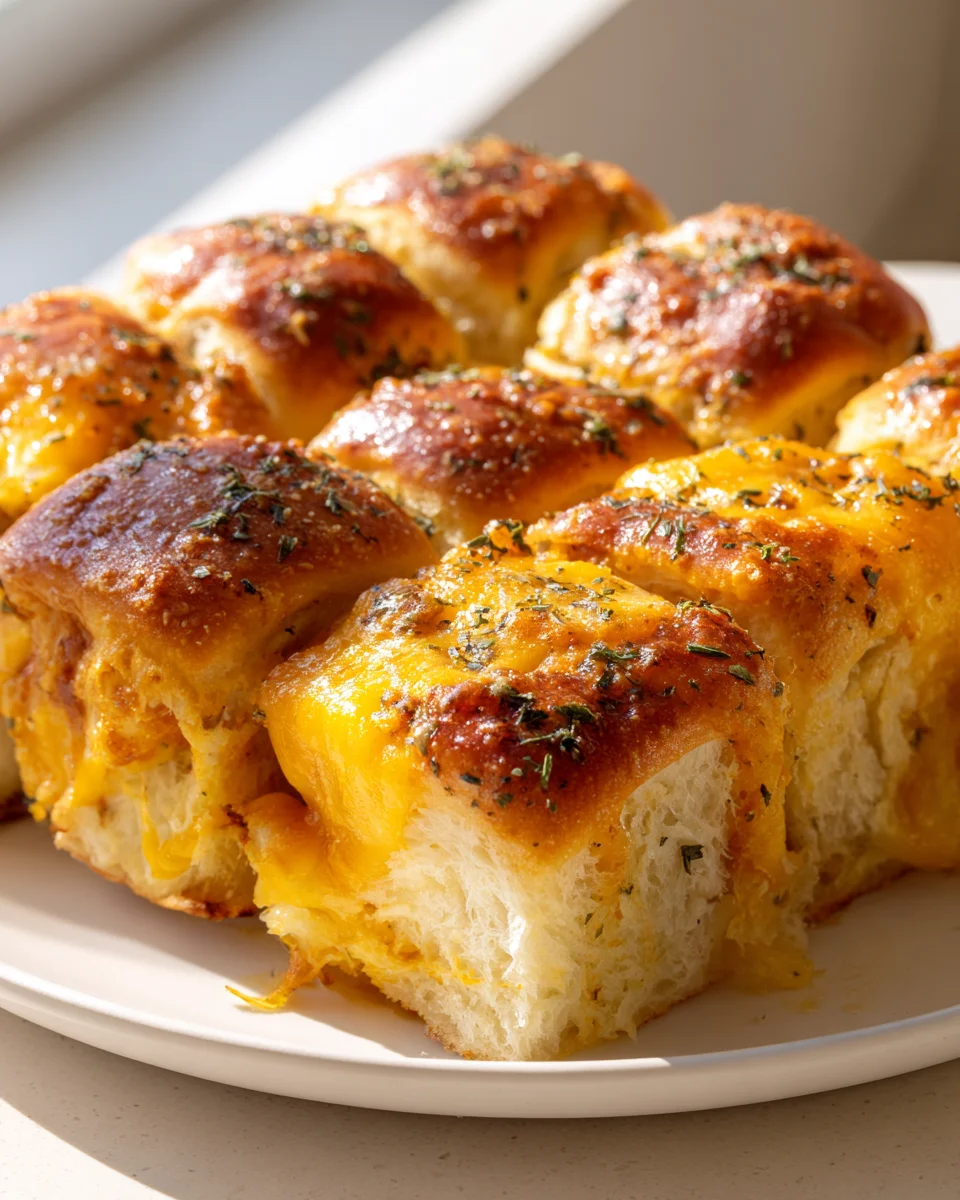
You might be thinking, “Grilled cheese? Hawaiian rolls? What makes it ultimate?” Well, let me tell you! This isn’t just any grilled cheese. We’re taking those wonderfully sweet, pillowy Hawaiian rolls – you know, the ones you can’t stop eating plain – and transforming them into the most delightful, mini, golden-brown pockets of cheesy perfection. What makes this recipe special is that irresistible contrast: the subtle sweetness of the Hawaiian roll perfectly complements the savory, ooey-gooey melted cheese inside. It’s a match made in heaven, offering a unique flavor profile that sets it apart from your traditional grilled cheese.
Readers, you are going to absolutely adore this recipe because it hits all the right notes. It’s incredibly easy to whip up, making it perfect for a quick snack, a crowd-pleasing party appetizer that will disappear in minutes, or a fun, kid-friendly meal. The miniature size is just too cute, inviting you to grab just one more (or three!). Imagine that warm, buttery, slightly crisp exterior giving way to a rich, melty cheese filling – pure bliss in every bite! It’s comfort food elevated, offering a nostalgic taste with a fun, sweet twist that you won’t find in your average grilled cheese. Trust me, once you try these, you’ll understand why I call them “An Incredible Ultimate Recipe.”

Welcome, fellow food enthusiasts, to a recipe that promises to elevate your snack game to legendary status: Mini Grilled Cheese Hawaiian Rolls! We’re not just making grilled cheese; we’re crafting an ‘Incredible Ultimate Recipe’ that combines the irresistible sweetness of Hawaiian rolls with gooey, savory cheese, all grilled to golden perfection. Get ready to impress yourself and everyone you share these little gems with!
Ingredient Notes
Crafting the perfect Mini Grilled Cheese Hawaiian Rolls starts with selecting the right components. Each ingredient plays a crucial role in achieving that incredible ultimate flavor and texture.
- Hawaiian Sweet Rolls (12-pack slab): These are non-negotiable for this particular recipe. Their inherent sweetness, incredibly soft texture, and slight chewiness are what make these mini grilled cheeses truly unique and utterly irresistible. They toast up beautifully, forming a subtly sweet, caramelized crust that perfectly complements the savory cheese. While other slider buns could work in a pinch, you’d miss out on that signature Hawaiian roll magic. I recommend using the pull-apart slab for ease of assembly.
- Cheese, Glorious Cheese (approximately 8-12 slices or 1.5 cups grated): For the ultimate melt and flavor, I suggest a blend. Classic American cheese is a fantastic base for its unparalleled meltiness and creamy texture. Pair it with a mild cheddar for a sharper flavor, or Monterey Jack for extra creaminess and a bit of a stretch. You could also experiment with Havarti for a buttery smoothness or even a touch of provolone. For best results, I personally love using block cheese and thinly slicing it myself, as it melts more evenly than some pre-sliced varieties, especially when dealing with mini sandwiches. If grating, go for fresh-grated as it contains less anti-caking agents and melts far better.
- Unsalted Butter (4-6 tablespoons, softened): Butter is your best friend for achieving that iconic golden-brown, crispy exterior. I prefer unsalted butter as it gives me control over the overall saltiness of the dish. Make sure it’s softened, not melted, for easier spreading. If you want to kick it up a notch for that “incredible ultimate” touch, consider mixing a tiny pinch of brown sugar into your softened butter before spreading – it creates an extra-caramelized, irresistible crust.
- Optional “Ultimate” Enhancements: To truly live up to the “incredible ultimate” title, let’s consider a few thoughtful additions:
- Thinly Sliced Deli Beef or Turkey (4-6 slices): For a savory protein boost that adds depth without overwhelming the mini nature of the sandwich. Ensure it’s very thinly sliced so it doesn’t make the sandwich too thick.
- Pineapple Tidbits (canned, well-patted dry, about 1/4 cup): To subtly lean into the “Hawaiian” theme. It’s crucial to pat these very dry with a paper towel to prevent sogginess. A tiny piece per mini sandwich adds a sweet, tangy surprise.
- Garlic Powder or Everything Bagel Seasoning (optional, 1/2 teaspoon): Stir a tiny amount into your softened butter before spreading, or sprinkle on the buttered exterior before grilling. This adds an extra layer of savory flavor and aroma that elevates the entire experience.
Step-by-Step Instructions
Making these Mini Grilled Cheese Hawaiian Rolls is incredibly simple, but following these steps precisely will ensure you achieve that perfect golden crust and gooey, melted cheese every single time.
- Prepare the Rolls: The easiest way to assemble these mini wonders is to keep the slab of Hawaiian rolls intact. Using a serrated knife, carefully slice the entire slab horizontally, creating a top and bottom half. Try to keep your cut as even as possible.
- Butter Up!: Generously spread your softened butter (or butter mixed with a touch of brown sugar/garlic powder, if using) evenly over the cut side of both the bottom and top halves of the rolls. Don’t be shy here; this butter is key to that gorgeous, crispy crust.
- Assemble the Layers: Place the bottom half of the buttered rolls onto a clean cutting board or baking sheet. Now, arrange your cheese slices (or sprinkle grated cheese) evenly over the entire bottom slab. If using optional deli beef or dried pineapple, place very thin slices or small pieces over the cheese. Finish with another layer of cheese on top of any fillings – this acts as the “glue” for the top bun. Finally, carefully place the top buttered half of the rolls onto the assembled bottom half.
- Preheat Your Pan: Heat a large non-stick skillet or griddle over medium-low heat. This low and slow approach is critical for allowing the cheese to melt completely before the bread burns. If your heat is too high, the rolls will brown too quickly, leaving you with cold cheese.
- Grill to Perfection: Gently transfer the entire assembled slab of rolls into the preheated skillet. Cook for about 5-7 minutes, or until the bottom is a beautiful golden brown and the cheese is starting to show signs of melting. Use a wide spatula to carefully flip the entire slab over. If you find the slab difficult to manage, you can carefully cut it into two or three smaller sections before flipping, but keeping it whole is often easier.
- Melt and Brown the Other Side: Once flipped, continue to cook for another 5-7 minutes, or until the second side is also golden brown and the cheese is gloriously melted and gooey throughout. To aid in melting the cheese, you can briefly place a lid over the skillet for the last few minutes of cooking on the second side. A gentle press with a spatula during cooking can help ensure even browning and a more compact sandwich, but don’t press too hard or you’ll squeeze out all that lovely cheese.
- Serve Immediately: Once perfectly golden and melted, remove the slab from the skillet. Using a serrated knife, cut along the natural divisions of the Hawaiian rolls to separate them into individual mini grilled cheese sandwiches. Serve them hot and fresh for the ultimate experience!
Tips & Suggestions
To truly master these Mini Grilled Cheese Hawaiian Rolls and ensure they live up to their “incredible ultimate” designation, keep these expert tips and creative suggestions in mind:
- Master the Heat: I cannot stress this enough: low-to-medium heat is your best friend. Patience is key. Rushing the process with high heat will lead to burnt bread and unmelted cheese – a tragic outcome for any grilled cheese. Cook slowly to allow the butter to caramelize the bread evenly and the cheese to become perfectly gooey.
- The Gentle Press: As the sandwiches cook, a very gentle press with your spatula is helpful. This ensures maximum contact with the hot pan, promoting even browning and a more compact, sturdy sandwich. However, resist the urge to press too firmly, as this can squish out the delicious melted cheese.
- Get Creative with Cheese Blends: Don’t limit yourself to just one type of cheese! A blend adds complexity and often a superior melt. Try combinations like sharp cheddar with smoked gouda, or pepper jack with muenster for a little kick. The possibilities are endless, so experiment to find your personal “ultimate” blend.
- Savory Additions for a Twist:
- Caramelized Onions: A thin layer of sweet, slow-cooked caramelized onions adds an incredible depth of flavor.
- Crispy Beef Bacon Bits: Cook up some beef bacon until crispy, crumble it, and sprinkle it inside for a salty, smoky crunch.
- Everything Bagel Seasoning: Mix a teaspoon into your softened butter or sprinkle it on the exterior before grilling for an extra savory, garlicky crust.
- A Hint of Heat: A tiny dash of red pepper flakes or a thin slice of jalapeño (if you enjoy a kick) can add an exciting element.
- Sweet and Savory Surprises: For an even more “incredible ultimate” experience, consider adding a thin spread of a complementary jam or preserve inside. Fig jam, apricot preserves, or even a spicy pepper jelly can create a delightful sweet-savory contrast that is surprisingly delicious with grilled cheese and Hawaiian rolls.
- Serving Suggestions: These mini grilled cheeses are fantastic on their own, but they also shine when paired.
- Tomato Soup Dippers: There’s no more classic pairing than grilled cheese and creamy tomato soup. These mini versions are perfect for dipping!
- Party Appetizers: They make phenomenal appetizers for gatherings, brunches, or game day. Arrange them on a platter with a side of sweet chili sauce or a simple marinara for dipping.
- Breakfast/Brunch Side: Serve alongside scrambled eggs and fresh fruit for a delightful breakfast or brunch spread.
Storage
While these Mini Grilled Cheese Hawaiian Rolls are undeniably best enjoyed hot and fresh from the pan, you might find yourself with a few irresistible leftovers. Here’s how to handle them:
- Cooked Storage: If you have any leftover cooked mini grilled cheeses, allow them to cool completely before storing. Place them in an airtight container or a resealable bag and refrigerate for up to 2-3 days. Beyond that, the quality tends to decline.
- Reheating for the Best Experience: To bring your leftover mini grilled cheeses back to life and restore their crispy exterior, I highly recommend reheating them in a toaster oven or a conventional oven.
- Toaster Oven/Conventional Oven: Preheat your oven or toaster oven to 300-325°F (150-160°C). Place the mini sandwiches directly on the oven rack or on a baking sheet. Heat for 8-12 minutes, or until warmed through and the rolls are crispy again. This method is superior as it prevents sogginess and helps to re-crisp the bread.
- Microwave (for speed, not crispiness): If you’re in a hurry and don’t mind a softer texture, you can microwave them for 15-30 seconds, or until just warmed through. Be aware that the rolls will lose their crispiness and the cheese might become overly soft.
- Freezing Cooked Mini Grilled Cheeses: I generally do not recommend freezing these mini grilled cheeses once they are cooked. The texture of the Hawaiian rolls can become somewhat mealy or soggy upon thawing and reheating, and the melted cheese might separate. They simply don’t hold up well to the freezing and thawing process.
- Make-Ahead (Uncooked Assembly): If you’re planning a party or want to streamline your cooking, you can assemble the entire slab of mini grilled cheeses (up to the point of grilling) a few hours in advance. Wrap the assembled slab loosely but securely with plastic wrap and refrigerate. When you’re ready to cook, let it sit out at room temperature for 10-15 minutes while your pan heats up. This brings the rolls closer to room temperature, ensuring more even cooking and melting.
Final Thoughts
Well, my friends, we’ve reached the sweet, savory, and utterly satisfying end of our journey with the Mini Grilled Cheese Hawaiian Rolls An Incredible Ultimate Recipe. I truly believe that this isn’t just another snack; it’s an experience waiting to happen!
From the moment those pillowy Hawaiian rolls meet their golden-brown destiny on the griddle, to the first glorious bite revealing that perfectly melted, gooey cheese, you’ll understand why I call this an incredible ultimate recipe. It takes the comforting classic of grilled cheese and elevates it with the irresistible sweetness and softness of Hawaiian rolls, all in a delightful mini package. They’re perfect for parties, a fun lunch, or simply as a comforting treat when you need a little something special.
I can’t recommend enough that you try the Mini Grilled Cheese Hawaiian Rolls An Incredible Ultimate Recipe for yourself. Prepare to impress your taste buds and everyone around you with these charming, irresistible bites. Happy cooking, and even happier eating!

Ultimate Mini Grilled Cheese Hawaiian Rolls Recipe!
- Total Time: 30 minutes
- Yield: 12 mini sandwiches
Description
Discover the ultimate snack or appetizer with these delightful Mini Grilled Cheese Hawaiian Rolls. Sweet Hawaiian rolls meet gooey melted cheese for a fun and comforting treat that everyone will love!
Ingredients
- Hawaiian Sweet Rolls (12-pack slab)
- Cheese, Glorious Cheese (approximately 8-12 slices or 1.5 cups grated)
- Unsalted Butter (4-6 tablespoons, softened)
- Thinly Sliced Deli Beef or Turkey (4-6 slices, optional)
- Pineapple Tidbits (canned, well-patted dry, about 1/4 cup, optional)
- Garlic Powder or Everything Bagel Seasoning (optional, 1/2 teaspoon)
Instructions
- Prepare the Rolls: The easiest way to assemble these mini wonders is to keep the slab of Hawaiian rolls intact. Using a serrated knife, carefully slice the entire slab horizontally, creating a top and bottom half. Try to keep your cut as even as possible.
- Butter Up!: Generously spread your softened butter (or butter mixed with a touch of brown sugar/garlic powder, if using) evenly over the cut side of both the bottom and top halves of the rolls. Don't be shy here; this butter is key to that gorgeous, crispy crust.
- Assemble the Layers: Place the bottom half of the buttered rolls onto a clean cutting board or baking sheet. Now, arrange your cheese slices (or sprinkle grated cheese) evenly over the entire bottom slab. If using optional deli beef or dried pineapple, place very thin slices or small pieces over the cheese. Finish with another layer of cheese on top of any fillings – this acts as the 'glue' for the top bun. Finally, carefully place the top buttered half of the rolls onto the assembled bottom half.
- Preheat Your Pan: Heat a large non-stick skillet or griddle over medium-low heat. This low and slow approach is critical for allowing the cheese to melt completely before the bread burns. If your heat is too high, the rolls will brown too quickly, leaving you with cold cheese.
- Grill to Perfection: Gently transfer the entire assembled slab of rolls into the preheated skillet. Cook for about 5-7 minutes, or until the bottom is a beautiful golden brown and the cheese is starting to show signs of melting. Use a wide spatula to carefully flip the entire slab over. If you find the slab difficult to manage, you can carefully cut it into two or three smaller sections before flipping, but keeping it whole is often easier.
- Melt and Brown the Other Side: Once flipped, continue to cook for another 5-7 minutes, or until the second side is also golden brown and the cheese is gloriously melted and gooey throughout. To aid in melting the cheese, you can briefly place a lid over the skillet for the last few minutes of cooking on the second side. A gentle press with a spatula during cooking can help ensure even browning and a more compact sandwich, but don't press too hard or you'll squeeze out all that lovely cheese.
- Serve Immediately: Once perfectly golden and melted, remove the slab from the skillet. Using a serrated knife, cut along the natural divisions of the Hawaiian rolls to separate them into individual mini grilled cheese sandwiches. Serve them hot and fresh for the ultimate experience!
- Prep Time: 15 mins
- Cook Time: 15 mins
- Category: Snack/Appetizer
- Method: Grilling
- Cuisine: American
Nutrition
- Serving Size: 1 mini sandwich
- Calories: 150
- Sugar: 2 g
- Sodium: 250 mg
- Fat: 8 g
- Saturated Fat: 4 g
- Unsaturated Fat: 2 g
- Trans Fat: 0 g
- Carbohydrates: 15 g
- Fiber: 1 g
- Protein: 5 g
- Cholesterol: 20 mg
Keywords: For the best results, use low-to-medium heat to ensure even melting and browning. Experiment with different cheese blends for a unique flavor, and consider adding optional ingredients like caramelized onions or a hint of heat for added depth.


Leave a Comment