
Teriyaki Chicken Bites With Sesame Seeds
If you’re searching for a dish that consistently delivers on flavor, convenience, and sheer deliciousness, I’m thrilled to introduce you to one of my absolute favorites! I absolutely adore how these little morsels of chicken transform into something truly magical. What makes them so special? It’s that perfect harmony of tender, juicy chicken enveloped in a sweet and savory, sticky teriyaki glaze, all crowned with the delightful nutty crunch of sesame seeds.
I promise you, these Teriyaki Chicken Bites With Sesame Seeds are going to be a new family favorite. They’re incredibly versatile – perfect as a speedy weeknight dinner, a crowd-pleasing appetizer for your next gathering, or even a delightful snack. Readers will love how simple they are to prepare and how quickly they disappear from the plate, leaving everyone wanting more.
In a nutshell, we’re taking bite-sized pieces of chicken, giving them a beautiful sear until golden, then coating them generously in a rich, umami-packed teriyaki sauce. A generous sprinkle of toasted sesame seeds adds that final flourish, creating a dish that’s visually appealing and utterly irresistible. Get ready to fall in love with these flavorful bites!

Ingredient Notes
Crafting delicious Teriyaki Chicken Bites with Sesame Seeds starts with understanding the star ingredients. I’ve found that using the right components makes all the difference in achieving that perfect balance of sweet, savory, and sticky goodness.
- Chicken: For “bites,” boneless, skinless chicken thighs are my absolute go-to. They are incredibly forgiving, remaining juicy and tender even when cut into smaller pieces and seared quickly. Their inherent fat content also contributes to a richer flavor. If you prefer white meat, boneless, skinless chicken breasts can be used, but be mindful not to overcook them, as they can dry out more easily. Cut your chicken into uniform 1-inch pieces to ensure even cooking.
- Soy Sauce: This is the backbone of our teriyaki sauce. I usually opt for a low-sodium variety to better control the overall saltiness of the dish, allowing me to adjust it to my preference. If you’re managing sodium intake, a very low-sodium or even a gluten-free tamari works wonderfully as a substitute.
- Sweetener: To achieve that classic teriyaki glaze, sweetness is key. Brown sugar is my top choice as it adds a lovely depth of flavor with its molasses notes, contributing to a beautiful caramelization. Honey or maple syrup are excellent alternatives, each lending a slightly different nuanced sweetness to the sauce.
- Ginger and Garlic: Fresh is best, always! Grated fresh ginger provides a wonderful aromatic zing and warmth, while freshly minced garlic adds a pungent depth. These two aromatics are crucial for the authentic teriyaki flavor. In a pinch, you can use ginger and garlic powder, but use sparingly (about 1/2 teaspoon of each per tablespoon of fresh) as their flavor is much more concentrated.
- Rice Vinegar: A splash of rice vinegar brightens the sauce, adding a subtle tang that balances the sweetness and richness. It’s a non-negotiable for me in a good teriyaki. Apple cider vinegar can be used as a substitute if you don’t have rice vinegar, though it will impart a slightly different flavor profile.
- Non-Alcoholic Mirin Alternative: Traditional teriyaki often includes mirin (sweet rice wine). To keep this recipe alcohol-free, I create a fantastic substitute by combining a bit more brown sugar with an equal part of extra rice vinegar and a splash of water or chicken broth. This mimics the sweetness and complex notes that mirin usually provides without any alcohol.
- Cornstarch Slurry: This is my secret weapon for achieving that wonderfully thick, glossy glaze. A simple mixture of cornstarch and cold water (or chicken broth) added at the end allows the sauce to beautifully coat each chicken bite. Arrowroot powder is a good gluten-free alternative if needed.
- Toasted Sesame Seeds: These are not just for garnish; they add a delightful nutty crunch and aroma that complements the savory chicken perfectly. I always toast them lightly in a dry pan beforehand to maximize their flavor.
- Cooking Oil: A neutral-flavored oil like vegetable, canola, or grapeseed oil is perfect for searing the chicken. A tiny drizzle of toasted sesame oil can be added to the finished sauce for an extra boost of sesame flavor, but be careful not to overpower the dish.
Step-by-Step Instructions
Let’s get cooking! This recipe for Teriyaki Chicken Bites with Sesame Seeds is straightforward and yields incredibly flavorful results. Here’s how I make these delicious bites:
- Prep the Chicken: First things first, I take my boneless, skinless chicken thighs and cut them into uniform 1-inch bite-sized pieces. Uniformity is key here for even cooking. After cutting, I pat the chicken pieces thoroughly dry with paper towels. This step is super important because it helps the chicken sear and brown nicely, rather than steam in the pan.
- Whisk the Teriyaki Sauce: In a medium bowl, I combine all the teriyaki sauce ingredients. This includes my low-sodium soy sauce, brown sugar (or honey/maple syrup), grated fresh ginger, minced fresh garlic, rice vinegar, and my non-alcoholic mirin alternative (a mix of extra brown sugar, rice vinegar, and a splash of water/broth). I whisk everything together until the sugar is fully dissolved and all ingredients are well combined. I set this aside for now.
- Sear the Chicken: I heat a large skillet or frying pan over medium-high heat and add a tablespoon of neutral cooking oil. Once the oil is shimmering, I add the chicken pieces in a single layer, making sure not to overcrowd the pan. If needed, I work in batches to ensure proper searing. I let the chicken cook for about 3-4 minutes per side, until it’s beautifully golden brown and cooked through. The internal temperature should reach 165°F (74°C). Once cooked, I remove the chicken from the pan and set it aside.
- Thicken the Sauce: With the same pan still hot (no need to clean it, those bits of flavor are good!), I give my whisked teriyaki sauce another quick stir and pour it into the pan. I bring the sauce to a gentle simmer. While it’s simmering, I quickly whisk together my cornstarch slurry (1 tablespoon cornstarch with 2 tablespoons cold water) in a small bowl until smooth. Once the sauce is simmering, I slowly pour the cornstarch slurry into the pan, whisking constantly. I continue to simmer and whisk for about 1-2 minutes, or until the sauce has thickened to a beautiful, glossy glaze that will coat the back of a spoon.
- Combine and Coat: Now for the best part! I return the seared chicken bites to the pan with the thickened teriyaki sauce. I toss everything gently to ensure each piece of chicken is thoroughly coated in that gorgeous, sticky glaze. I make sure to scrape up any delicious bits from the bottom of the pan to incorporate them into the sauce.
- Garnish and Serve: Finally, I transfer the Teriyaki Chicken Bites to a serving platter and generously sprinkle them with toasted sesame seeds. Sometimes I’ll add a few thinly sliced green onions for a pop of color and freshness. I love serving these immediately while they’re warm and the sauce is at its stickiest best.
Tips & Suggestions
To really nail these Teriyaki Chicken Bites with Sesame Seeds and make them shine, I’ve gathered a few tips and suggestions based on my experience. These small details can elevate your dish from good to absolutely fantastic!
- Pat Your Chicken Dry: I can’t stress this enough! Moisture is the enemy of a good sear. Thoroughly patting your chicken pieces dry with paper towels before cooking ensures that they brown beautifully and quickly develop that delicious caramelized crust, rather than steaming in their own juices. This greatly impacts the flavor and texture of your bites.
- Don’t Crowd the Pan: When searing the chicken, it’s really important to cook in batches if necessary. Overcrowding the pan lowers the temperature, causing the chicken to steam instead of sear. Give each piece some breathing room to achieve that perfect golden-brown exterior. Patience here pays off!
- Adjust Sauce Thickness: The beauty of a cornstarch slurry is its flexibility. If your sauce seems too thick, you can always whisk in a tiny bit of hot water or chicken broth until it reaches your desired consistency. Conversely, if it’s not quite thick enough, mix a small amount of extra cornstarch with cold water, add it to the simmering sauce, and cook for another minute.
- Toast Your Sesame Seeds: This is a simple step that makes a huge difference in flavor. Dry-toasting sesame seeds in a small, dry skillet over medium-low heat for a few minutes until fragrant and lightly golden brings out their full nutty aroma and taste. Just keep an eye on them, as they can burn quickly!
- Level Up Your Spice: If you enjoy a bit of heat, feel free to add a pinch of red pepper flakes to the teriyaki sauce while it’s simmering. It adds a lovely kick that complements the sweet and savory notes without overpowering the dish.
- Serving Suggestions: These Teriyaki Chicken Bites are incredibly versatile. I love serving them over a bed of fluffy steamed white or brown rice to soak up all that delicious sauce. They’re also fantastic alongside steamed or stir-fried vegetables like broccoli, snap peas, or bell peppers. For a quick weeknight meal, I sometimes pair them with a simple side salad. They also make excellent appetizers for gatherings!
- Consider a Quick Marinade: While this recipe is designed for a quick glaze, if you have extra time (30 minutes to an hour), you can marinate the chicken in a small portion of your teriyaki sauce (before thickening) for an even deeper flavor penetration. Just remember to reserve enough sauce for the glaze later or make a separate batch for marinating.
- Chicken Internal Temperature: Always ensure your chicken reaches an internal temperature of 165°F (74°C) for food safety. A meat thermometer is your best friend here, giving you peace of mind that your chicken is perfectly cooked without being overdone.
Storage
Proper storage ensures your delicious Teriyaki Chicken Bites with Sesame Seeds remain enjoyable and safe to eat. Here’s how I handle leftovers to keep them tasting great:
- Refrigeration: Once the Teriyaki Chicken Bites have cooled completely, transfer them to an airtight container. They can be stored in the refrigerator for up to 3-4 days. I always make sure they’re thoroughly cooled before sealing the container to prevent condensation, which can make them soggy.
- Reheating: For the best results, I prefer to reheat the chicken bites gently.
- Stovetop: Place the chicken bites in a non-stick skillet over medium-low heat. Add a splash of water or chicken broth, cover the pan, and let them warm through for 5-7 minutes, stirring occasionally, until heated through. The added liquid helps create a little steam, preventing them from drying out and reviving the sauce.
- Microwave: If I’m in a hurry, the microwave works. Place the chicken bites in a microwave-safe dish, cover loosely (to prevent splatters and help retain moisture), and heat in 30-second intervals, stirring in between, until warmed through. Be careful not to overheat, as this can make the chicken tough and dry.
- Oven/Toaster Oven: For a slightly crisper exterior, especially if you want to avoid sogginess, spread the chicken bites in a single layer on a baking sheet. Reheat in a preheated oven at 300°F (150°C) for about 10-15 minutes, or until heated through.
- Freezing: Teriyaki Chicken Bites freeze surprisingly well! Once cooled, arrange the cooked chicken bites in a single layer on a baking sheet and freeze for about an hour until firm. This prevents them from sticking together. Then, transfer the frozen bites to a freezer-safe airtight container or heavy-duty freezer bag. They can be stored in the freezer for up to 2-3 months.
- To Reheat from Frozen: Thaw the chicken bites overnight in the refrigerator before reheating using one of the methods above. Alternatively, you can reheat them directly from frozen on the stovetop or in the oven, adding a bit more time and a splash of liquid to ensure they warm through evenly and don’t dry out. The texture of the sauce might be slightly different after freezing and thawing, but the flavor will still be fantastic.
Final Thoughts
Oh, how I love wrapping up a delicious cooking adventure, and sharing the joy of a recipe that truly delivers! I’m so excited for you to experience the magic of these Teriyaki Chicken Bites With Sesame Seeds.
Seriously, this recipe is a must-try for so many reasons. The chicken pieces, perfectly coated in that rich, sweet, and savory teriyaki glaze (crafted to be wonderfully family-friendly, of course!), become incredibly tender and flavorful. And those sesame seeds? They add a delightful nutty crunch that elevates every single bite of your Teriyaki Chicken Bites With Sesame Seeds.
Whether you’re looking for an irresistible appetizer for a gathering, a quick and satisfying weeknight meal, or even a delightful addition to lunchboxes, I promise you, these Teriyaki Chicken Bites With Sesame Seeds hit all the right notes. They are effortlessly delicious, remarkably versatile, and guaranteed to disappear fast!
So go ahead, treat yourself and your loved ones to this fantastic dish. I truly believe you’ll fall in love with the ease and incredible flavor of your very own batch of Teriyaki Chicken Bites With Sesame Seeds. Happy cooking, my friends!

Teriyaki Chicken Bites: Easy Sesame Seed Recipe!
- Total Time: 30 minutes
- Yield: 4 servings 1x
Description
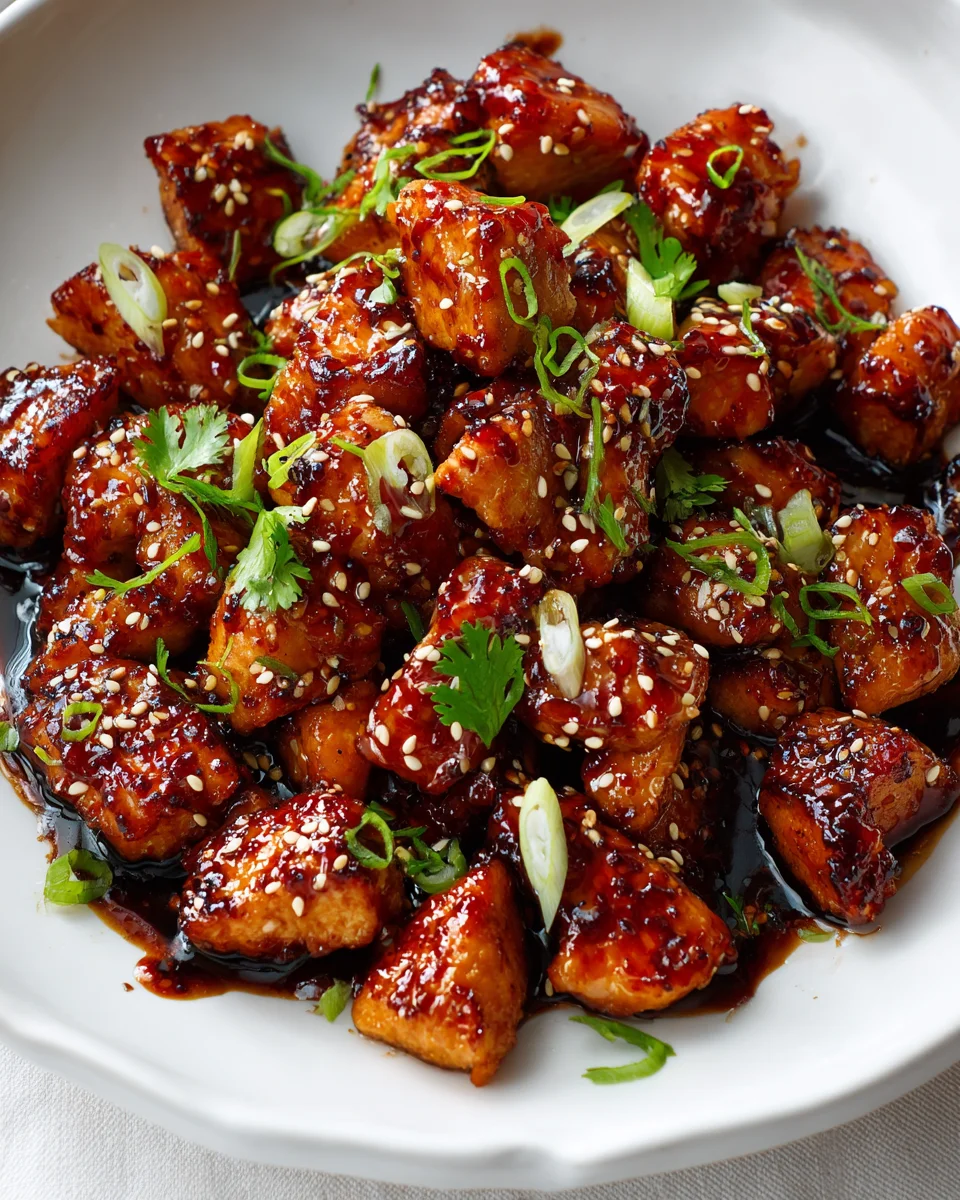
These Teriyaki Chicken Bites are packed with flavor and coated in a sticky teriyaki glaze, topped with crunchy sesame seeds. Perfect for a quick dinner or as an appetizer for gatherings!
Ingredients
- 1 lb boneless, skinless chicken thighs (cut into 1-inch pieces)
- 1/4 cup low-sodium soy sauce
- 1/4 cup brown sugar (or honey/maple syrup)
- 1 tablespoon grated fresh ginger
- 2 cloves minced fresh garlic
- 1 tablespoon rice vinegar
- 1 tablespoon brown sugar (for non-alcoholic mirin alternative)
- 1 tablespoon extra rice vinegar (for non-alcoholic mirin alternative)
- 1 tablespoon water or chicken broth (for non-alcoholic mirin alternative)
- 1 tablespoon cornstarch
- 2 tablespoons cold water (for cornstarch slurry)
- 2 tablespoons toasted sesame seeds
- 1 tablespoon neutral cooking oil (vegetable, canola, or grapeseed oil)
- Optional: thinly sliced green onions (for garnish)
Instructions
- First things first, take the boneless, skinless chicken thighs and cut them into uniform 1-inch bite-sized pieces. Pat the chicken pieces thoroughly dry with paper towels.
- In a medium bowl, combine all the teriyaki sauce ingredients: low-sodium soy sauce, brown sugar (or honey/maple syrup), grated fresh ginger, minced fresh garlic, rice vinegar, and the non-alcoholic mirin alternative (a mix of extra brown sugar, rice vinegar, and a splash of water/broth). Whisk everything together until the sugar is fully dissolved and set aside.
- Heat a large skillet or frying pan over medium-high heat and add a tablespoon of neutral cooking oil. Once the oil is shimmering, add the chicken pieces in a single layer and cook for about 3-4 minutes per side until golden brown and cooked through. The internal temperature should reach 165°F (74°C). Remove the chicken from the pan and set it aside.
- With the same pan still hot, give the whisked teriyaki sauce another quick stir and pour it into the pan. Bring the sauce to a gentle simmer. Quickly whisk together the cornstarch slurry (1 tablespoon cornstarch with 2 tablespoons cold water) in a small bowl until smooth. Once the sauce is simmering, slowly pour the cornstarch slurry into the pan, whisking constantly for about 1-2 minutes until the sauce has thickened to a glossy glaze.
- Return the seared chicken bites to the pan with the thickened teriyaki sauce and toss gently to ensure each piece is thoroughly coated. Scrape up any delicious bits from the bottom of the pan to incorporate them into the sauce.
- Transfer the Teriyaki Chicken Bites to a serving platter and generously sprinkle with toasted sesame seeds. Optionally, add thinly sliced green onions for garnish and serve immediately.
- Prep Time: 15 mins
- Cook Time: 15 mins
- Category: Dinner
- Method: Stovetop
- Cuisine: Japanese
Nutrition
- Serving Size: 1 bowl
- Calories: 350
- Sugar: 12 g
- Sodium: 600 mg
- Fat: 10 g
- Saturated Fat: 1 g
- Unsaturated Fat: 8 g
- Trans Fat: 0 g
- Carbohydrates: 40 g
- Fiber: 1 g
- Protein: 25 g
- Cholesterol: 70 mg
Keywords: Pat your chicken dry for a better sear, and avoid overcrowding the pan. Adjust the sauce thickness with hot water or chicken broth if needed. Toast sesame seeds for enhanced flavor.


Leave a Comment