
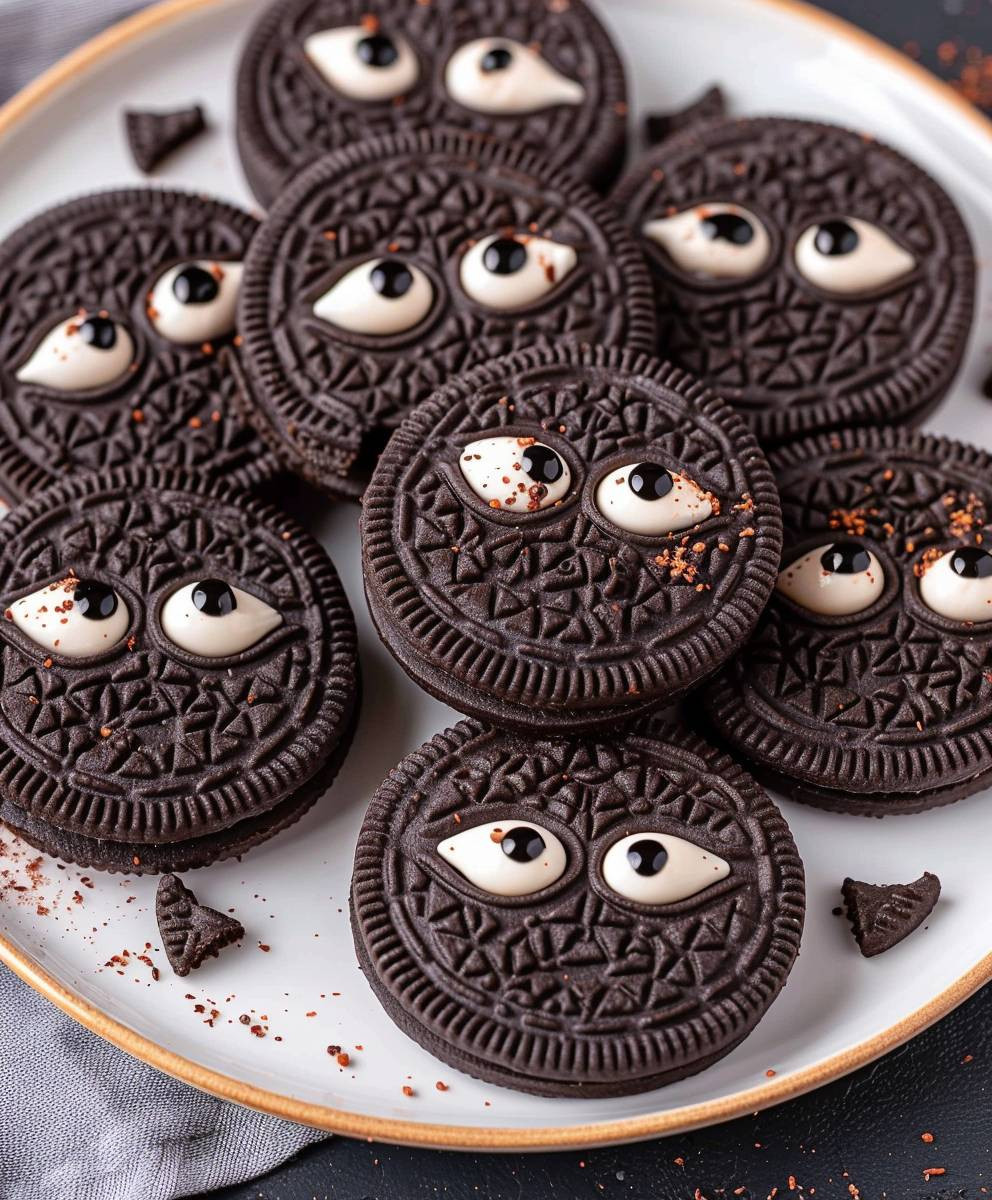
Oreo Cookies: A Timeless Treat
Oreo cookies: Just the name conjures up images of creamy filling sandwiched between two crisp chocolate wafers, a delightful combination that has captivated generations. I’ve always loved the simple pleasure of twisting, licking, and dunking an Oreo, and I know I’m not alone! This iconic cookie, with its instantly recognizable design, has become a global phenomenon, transcending cultural boundaries and solidifying its place in dessert history.
While the exact origins of the Oreo cookie are shrouded in some mystery, its story begins in 1912 when the National Biscuit Company (Nabisco) introduced this delectable treat. Since then, Oreo cookies have undergone various iterations, from limited-edition flavors to creative packaging, yet the core recipe remains largely unchanged, a testament to its perfection. This enduring popularity speaks volumes about its irresistible appeal.
What is it about this seemingly simple cookie that has made it a beloved snack for over a century? It’s the perfect balance, I believe. The crisp, slightly sweet chocolate wafers provide a satisfying crunch, while the creamy, intensely sweet filling offers a delightful contrast in texture and flavor. It’s a combination that’s both intensely satisfying and surprisingly versatile. Whether enjoyed on its own, crushed into ice cream, or used as a key ingredient in countless baked goods, the Oreo cookie consistently delivers a taste experience that’s hard to resist. Its convenience also adds to its charm; a quick and easy treat perfect for any occasion.
In this article, I’ll share with you my take on the classic Oreo cookie recipe, along with some tips and tricks to ensure your baking success. Get ready to experience the magic of these timeless treats!

Ingredients:
- 24 Oreo cookies, finely crushed (reserve about 1/4 cup for garnish)
- 1 cup (2 sticks) unsalted butter, melted
- 1 (8 ounce) package cream cheese, softened
- 1/2 cup granulated sugar
- 1 teaspoon vanilla extract
- 2 cups heavy cream, cold
- 1/4 cup powdered sugar
- 1/4 teaspoon vanilla extract
- Optional: Chocolate shavings for garnish
- Optional: Fresh berries for garnish
Preparing the Oreo Crust
- First, I like to start by crushing the Oreos. I find using a food processor works best for a consistent crumb, but you can also place them in a zip-top bag and crush them with a rolling pin. Make sure you crush them fairly finely; you want a good, even texture for the crust.
- Once the Oreos are crushed, I add the melted butter. I usually melt the butter in the microwave in 30-second intervals, stirring until completely melted. Pour the melted butter over the crushed Oreos and mix thoroughly until all the crumbs are evenly moistened. This is crucial for a good crust!
- Next, I press the Oreo mixture firmly into the bottom of a 9-inch springform pan. I use the bottom of a measuring cup to really pack it down and create an even layer. This step is important for a sturdy crust that won’t crumble when you cut into the pie.
- Once the crust is evenly pressed, I pop the pan into the refrigerator to chill for at least 30 minutes. This helps the crust firm up and prevents it from getting soggy when you add the filling.
Making the Cream Cheese Filling
- While the crust is chilling, I start on the cream cheese filling. In a large bowl, I beat the softened cream cheese with an electric mixer until it’s smooth and creamy. Make sure your cream cheese is at room temperature; this will make it much easier to mix.
- Next, I gradually add the granulated sugar, beating until it’s fully incorporated and the mixture is light and fluffy. This usually takes about 2-3 minutes on medium speed.
- Then, I stir in the vanilla extract. Just a teaspoon is all you need to add a lovely vanilla flavor to the filling.
- Now, it’s time to carefully fold in the whipped cream. I whip the heavy cream and powdered sugar together in a separate bowl until stiff peaks form. This is important for a light and airy filling. Be careful not to overwhip the cream, or it will become grainy.
- Once the whipped cream is ready, I gently fold it into the cream cheese mixture. I do this in several additions, making sure not to deflate the whipped cream. I use a spatula and fold the mixture from the bottom up, rotating the bowl as I go.
Assembling and Chilling the Oreo Cheesecake
- After the cream cheese filling is ready, I carefully pour it over the chilled Oreo crust. I spread it evenly using a spatula or offset spatula. Try to avoid getting air bubbles in the filling.
- Once the filling is evenly spread, I sprinkle the reserved crushed Oreos over the top. This adds a nice textural contrast and visual appeal.
- Optional: At this point, I like to add some chocolate shavings or fresh berries for extra flair. A little bit of garnish goes a long way!
- Finally, I cover the springform pan with plastic wrap and refrigerate the cheesecake for at least 4 hours, or preferably overnight. This allows the cheesecake to set completely and the flavors to meld together.
- Before serving, I carefully remove the sides of the springform pan. This is easiest to do with a thin knife or spatula to loosen the edges. Then, I slice and serve the cheesecake. Enjoy!
Tips and Variations
- For a richer flavor: Use dark chocolate Oreos instead of regular Oreos.
- For a different twist: Add a layer of chocolate ganache on top of the cheesecake before chilling.
- For a more intense Oreo flavor: Add a few tablespoons of Oreo cookie crumbs to the cream cheese filling.
- To prevent cracks: Make sure your cream cheese is softened to room temperature and avoid overmixing the filling.
- For easier serving: Use a sharp knife dipped in hot water to cut clean slices.
Conclusion:
So there you have it! My recipe for the ultimate Oreo Cookie dessert. I truly believe this recipe is a must-try for several reasons. First, it’s incredibly versatile. You can adjust the sweetness, the creaminess, and even the type of Oreo used to perfectly suit your taste. Whether you prefer the classic chocolate Oreo, the mint Oreo, or even one of the limited-edition flavors, this recipe will adapt beautifully. Second, it’s surprisingly easy to make! Even if you’re a beginner baker, you’ll find this recipe straightforward and achievable. The simple steps and readily available ingredients make it perfect for a weeknight treat or a fun weekend baking project.
Third, and perhaps most importantly, the result is absolutely delicious! The rich, chocolatey flavor of the Oreos combined with the creamy, decadent texture of the filling creates a truly unforgettable dessert experience. It’s the perfect balance of sweet and slightly salty, with a satisfying crunch that will leave you wanting more. I’ve personally tested this recipe countless times, tweaking and perfecting it until I achieved the ideal flavor and texture. And let me tell you, the feedback I’ve received has been overwhelmingly positive!
Serving Suggestions:
This Oreo Cookie dessert is fantastic on its own, but you can elevate it even further with a few simple additions. A scoop of vanilla ice cream is a classic pairing that adds a cool, creamy contrast to the rich chocolate. For a more sophisticated touch, try serving it with a dollop of whipped cream and a sprinkle of chocolate shavings. You could also drizzle some melted chocolate or caramel sauce over the top for an extra layer of indulgence. If you’re feeling adventurous, try adding some fresh berries or a sprinkle of chopped nuts for a delightful textural and flavor contrast.
Variations to Try:
The beauty of this recipe lies in its adaptability. Feel free to experiment with different variations to create your own unique twist. For a richer, more intense chocolate flavor, try using dark chocolate Oreos. If you prefer a lighter dessert, you can reduce the amount of cream cheese or use a lower-fat alternative. You could also add a pinch of espresso powder to the cream cheese mixture for a mocha-flavored twist. For a fun, festive treat, try adding food coloring to the cream cheese to create a colorful dessert perfect for parties or holidays.
Perhaps you’d like to incorporate other cookies into the mix? Experiment with different cookie crumbs to create a unique flavor profile. Think about using graham crackers, digestive biscuits, or even shortbread cookies for a completely different experience. The possibilities are truly endless!
Don’t Forget to Share!
I encourage you to try this recipe and let me know what you think! Share your photos and experiences on social media using the hashtag #OreoCookieDream. I’d love to see your creations and hear about your own variations. Whether you’re a seasoned baker or a complete novice, this recipe is sure to impress. It’s a guaranteed crowd-pleaser that’s perfect for any occasion. So, what are you waiting for? Grab your ingredients, put on your apron, and get baking! You won’t regret it. This Oreo Cookie dessert is a true testament to the simple pleasures in life – a delicious, easy-to-make treat that’s sure to bring a smile to your face.
Happy Baking!
Oreo Cookies: The Ultimate Guide to America's Favorite Cookie
Creamy no-bake Oreo cheesecake with a crunchy Oreo crust. Perfect for any occasion.
Ingredients
Instructions
Recipe Notes
- For a richer flavor, use dark chocolate Oreos.
- Add a layer of chocolate ganache for a different twist.
- Add a few tablespoons of Oreo crumbs to the cream cheese filling for a more intense Oreo flavor.
- To prevent cracks, ensure cream cheese is softened and avoid overmixing the filling.
- Use a sharp knife dipped in hot water for clean slices.

Leave a Comment