
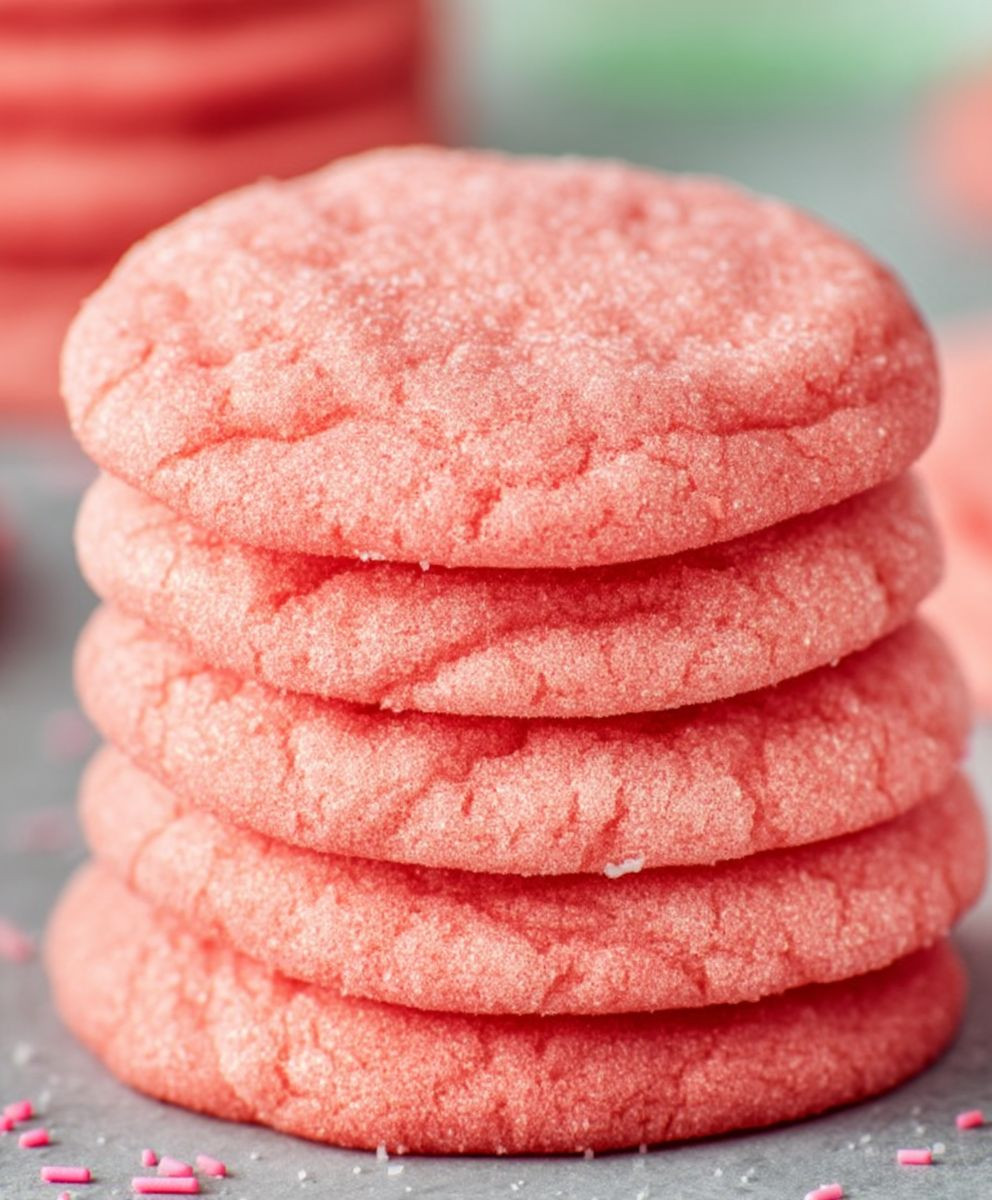
Mexican Pink Cookies, or Galletas Rosas, aren’t just a treat; they’re a vibrant explosion of color and flavor that instantly transports you to a festive celebration! Have you ever tasted a cookie that’s both delightfully crumbly and subtly sweet, with a melt-in-your-mouth texture that leaves you craving more? These cookies are exactly that, and they’re surprisingly easy to make at home.
These delightful pink cookies hold a special place in Mexican baking traditions, often appearing during holidays and special occasions. Their cheerful color, achieved with a touch of food coloring, adds a touch of whimsy to any dessert table. While their exact origins are debated, many believe they evolved from shortbread-style cookies brought over by European settlers, adapted with local ingredients and a distinctive Mexican flair.
What makes Mexican Pink Cookies so beloved? It’s a combination of factors! Their delicate, almost sandy texture is incredibly satisfying, and the subtle sweetness is perfectly balanced. They’re also incredibly versatile – perfect for dunking in coffee or hot chocolate, enjoying as an afternoon snack, or gifting to friends and family. Plus, the simple recipe means you can whip up a batch in no time, bringing a little bit of Mexican sunshine into your kitchen whenever you desire. So, let’s get baking and create these irresistible treats together!

Ingredients:
- For the Cookies:
- 1 cup (2 sticks) unsalted butter, softened
- 1 ½ cups granulated sugar
- 2 large eggs
- 1 teaspoon vanilla extract
- ½ teaspoon almond extract
- 3 cups all-purpose flour
- 1 teaspoon baking powder
- ½ teaspoon baking soda
- ¼ teaspoon salt
- Red food coloring (gel or liquid)
- For the Glaze:
- 2 cups powdered sugar
- 4-6 tablespoons milk (or water)
- ½ teaspoon vanilla extract
- Pinch of salt
- Optional: Sprinkles for decoration
Preparing the Cookie Dough
Alright, let’s get started with the most important part – the cookie dough! This is where the magic happens, and we’ll create that beautiful pink base for our Mexican Pink Cookies.
- Cream the Butter and Sugar: In a large mixing bowl (or the bowl of your stand mixer), cream together the softened butter and granulated sugar until light and fluffy. This usually takes about 3-5 minutes. Don’t rush this step! A well-creamed mixture will result in a tender cookie. You’ll know it’s ready when the mixture is pale and airy. Scrape down the sides of the bowl occasionally to ensure everything is evenly mixed.
- Add the Eggs and Extracts: Beat in the eggs one at a time, mixing well after each addition. Then, stir in the vanilla extract and almond extract. The almond extract is optional, but I highly recommend it! It adds a subtle, delightful flavor that complements the vanilla and enhances the overall taste of the cookies.
- Combine Dry Ingredients: In a separate medium bowl, whisk together the all-purpose flour, baking powder, baking soda, and salt. Whisking ensures that the baking powder and baking soda are evenly distributed throughout the flour, which is crucial for proper leavening.
- Gradually Add Dry Ingredients to Wet Ingredients: Gradually add the dry ingredients to the wet ingredients, mixing on low speed until just combined. Be careful not to overmix! Overmixing can develop the gluten in the flour, resulting in tough cookies. Mix until the flour is just incorporated, and then stop.
- Add the Red Food Coloring: Now for the fun part – the pink! Add red food coloring, a few drops at a time, until you reach your desired shade of pink. I prefer using gel food coloring because it’s more concentrated and doesn’t add extra liquid to the dough. However, liquid food coloring will work too. Just be mindful of the amount you add. Mix until the color is evenly distributed throughout the dough. If you want a deeper pink, add a few more drops. For a lighter pink, use fewer drops.
- Chill the Dough: Wrap the cookie dough in plastic wrap and chill in the refrigerator for at least 1 hour, or preferably 2 hours. This is a crucial step! Chilling the dough allows the gluten to relax, which prevents the cookies from spreading too much during baking. It also makes the dough easier to handle and roll out. Don’t skip this step!
Rolling and Cutting the Cookies
Once the dough is chilled, it’s time to roll it out and cut out our cookie shapes. This is where you can get creative and use your favorite cookie cutters!
- Preheat Oven and Prepare Baking Sheets: Preheat your oven to 375°F (190°C). Line baking sheets with parchment paper or silicone baking mats. Parchment paper prevents the cookies from sticking and makes cleanup a breeze.
- Roll Out the Dough: On a lightly floured surface, roll out the chilled cookie dough to about ¼ inch thickness. Work quickly, as the dough will start to soften as it warms up. If the dough becomes too sticky, return it to the refrigerator for a few minutes to chill.
- Cut Out the Cookies: Use your favorite cookie cutters to cut out shapes from the rolled-out dough. I love using round cookie cutters for a classic look, but you can use any shape you like!
- Place Cookies on Baking Sheets: Carefully transfer the cut-out cookies to the prepared baking sheets, leaving about 1 inch of space between each cookie.
- Bake the Cookies: Bake for 8-10 minutes, or until the edges are lightly golden brown. Keep a close eye on the cookies, as they can burn easily. The baking time will vary depending on the size and thickness of your cookies.
- Cool the Cookies: Remove the baking sheets from the oven and let the cookies cool on the baking sheets for a few minutes before transferring them to a wire rack to cool completely.
Making the Glaze
While the cookies are cooling, let’s whip up the glaze! This simple glaze adds a touch of sweetness and that signature glossy finish to our Mexican Pink Cookies.
- Combine Ingredients: In a medium bowl, whisk together the powdered sugar, milk (or water), vanilla extract, and salt until smooth. Start with 4 tablespoons of milk and add more, 1 tablespoon at a time, until you reach your desired consistency. The glaze should be thick enough to coat the cookies but thin enough to spread easily.
- Adjust Consistency: If the glaze is too thick, add a little more milk. If it’s too thin, add a little more powdered sugar.
Glazing and Decorating the Cookies
Now for the final touch – glazing and decorating! This is where you can really let your creativity shine.
- Glaze the Cookies: Once the cookies are completely cool, dip the tops of the cookies into the glaze, or spread the glaze evenly over the tops of the cookies using a knife or spatula.
- Add Sprinkles (Optional): If desired, immediately sprinkle the glazed cookies with sprinkles. The sprinkles will adhere best when the glaze is still wet.
- Let the Glaze Set: Let the glaze set completely before serving or storing the cookies. This usually takes about 30 minutes to an hour.
Tips and Variations
Here are a few extra tips and variations to help you make the perfect Mexican Pink Cookies:
- Use High-Quality Ingredients: Using high-quality ingredients, especially butter and vanilla extract, will make a noticeable difference in the flavor of your cookies.
- Don’t Overbake: Overbaked cookies will be dry and crumbly. Bake the cookies just until the edges are lightly golden brown.
- Store Properly: Store the cookies in an airtight container at room temperature for up to 3 days.
- Add Citrus Zest: For a bright and zesty flavor, add the zest of one orange or lemon to the cookie dough.
- Use Different Extracts: Experiment with different extracts, such as lemon extract or orange extract, to create unique flavor combinations.
- Make Sandwich Cookies: Spread a layer of frosting or jam between two cookies to create sandwich cookies.
- Dye the Glaze: Add a few drops of food coloring to the glaze to create different colored glazes.
- Add Nuts: Add chopped nuts, such as pecans or walnuts, to the cookie dough for added texture and flavor.
- Chocolate Chips: Fold in some chocolate chips into the dough for a chocolatey twist.
Enjoy your delicious homemade Mexican Pink Cookies! I hope you love this recipe as much as I do. They’re perfect for holidays, parties, or any time you’re craving a sweet treat.
Conclusion:
Well, there you have it! I truly believe this recipe for Mexican Pink Cookies is a must-try, and here’s why: it’s a delightful explosion of flavor and texture, offering a unique twist on the classic cookie. The subtle almond extract dances beautifully with the bright pink hue, creating a treat that’s as visually appealing as it is delicious. But beyond the aesthetics, these cookies are incredibly easy to make, requiring minimal ingredients and effort. Seriously, even if you’re a baking novice, you can absolutely nail this recipe.
Think of the possibilities! These cookies are perfect for any occasion. Imagine serving them at a festive birthday party, a casual afternoon tea, or even packaging them up as a thoughtful homemade gift. They’re guaranteed to bring a smile to anyone’s face.
And the best part? You can easily customize them to your liking! For a richer flavor, try using browned butter instead of regular melted butter. Or, if you’re feeling adventurous, add a pinch of cinnamon or cardamom to the dough for a warm, spicy kick. You could even dip the finished cookies in melted white chocolate and sprinkle them with colorful sprinkles for an extra touch of whimsy. Another fun variation is to add a few drops of red food coloring to the glaze for a deeper, more vibrant pink.
Serving Suggestions and Variations:
* Classic Serving: Enjoy them as is with a glass of cold milk or a cup of hot coffee.
* Ice Cream Sandwich: Use two cookies to sandwich a scoop of vanilla or strawberry ice cream.
* Cookie Crumbles: Crumble them over yogurt or ice cream for added texture and flavor.
* Gift Giving: Package them in a decorative tin or cellophane bag for a homemade gift.
* Brown Butter Variation: Use browned butter for a nuttier, more complex flavor.
* Spice It Up: Add a pinch of cinnamon or cardamom to the dough.
* Chocolate Dipped: Dip the cookies in melted white chocolate and sprinkle with sprinkles.
* Vibrant Glaze: Add a few drops of red food coloring to the glaze for a deeper pink.
I’m so excited for you to try this recipe! I know you’re going to love the soft, crumbly texture and the delicate almond flavor. It’s a recipe that’s sure to become a family favorite.
So, what are you waiting for? Gather your ingredients, preheat your oven, and get ready to bake up a batch of these irresistible Mexican Pink Cookies. I promise you won’t regret it!
And once you’ve made them, please, please, please share your experience! I’d love to hear how they turned out, what variations you tried, and what your family and friends thought. You can leave a comment below, tag me on social media (I’m @[YourSocialMediaHandle]!), or even send me an email. I’m always eager to see your creations and hear your feedback. Happy baking! Let me know if you have any questions, and I’ll do my best to help. I can’t wait to see your beautiful pink cookies!
Mexican Pink Cookies: A Delicious & Easy Recipe
Classic Mexican Pink Cookies: tender crumb, subtle almond flavor, and sweet, glossy glaze. Perfect for holidays, parties, or any sweet craving!
Ingredients
Instructions
Recipe Notes
- Use high-quality ingredients for the best flavor.
- Don’t overbake the cookies.
- Chilling the dough is crucial to prevent spreading.
- Almond extract is optional but highly recommended.
- Gel food coloring is preferred for a more concentrated color.
- Store cookies in an airtight container at room temperature for up to 3 days.
- For a bright and zesty flavor, add the zest of one orange or lemon to the cookie dough.
- Experiment with different extracts, such as lemon extract or orange extract, to create unique flavor combinations.
- Make sandwich cookies by spreading a layer of frosting or jam between two cookies.
- Dye the glaze by adding a few drops of food coloring to create different colored glazes.
- Add chopped nuts, such as pecans or walnuts, to the cookie dough for added texture and flavor.
- Fold in some chocolate chips into the dough for a chocolatey twist.


Leave a Comment