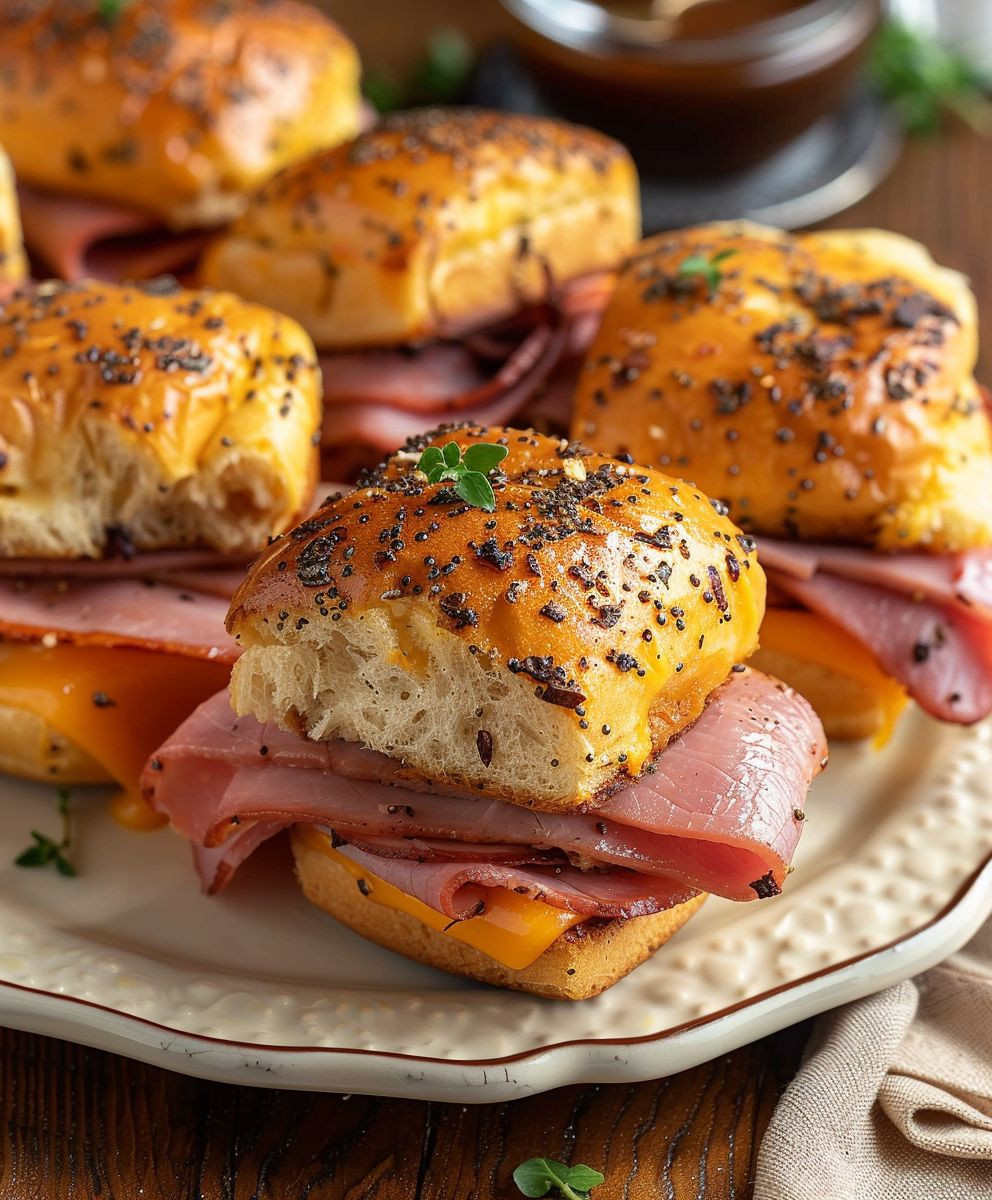
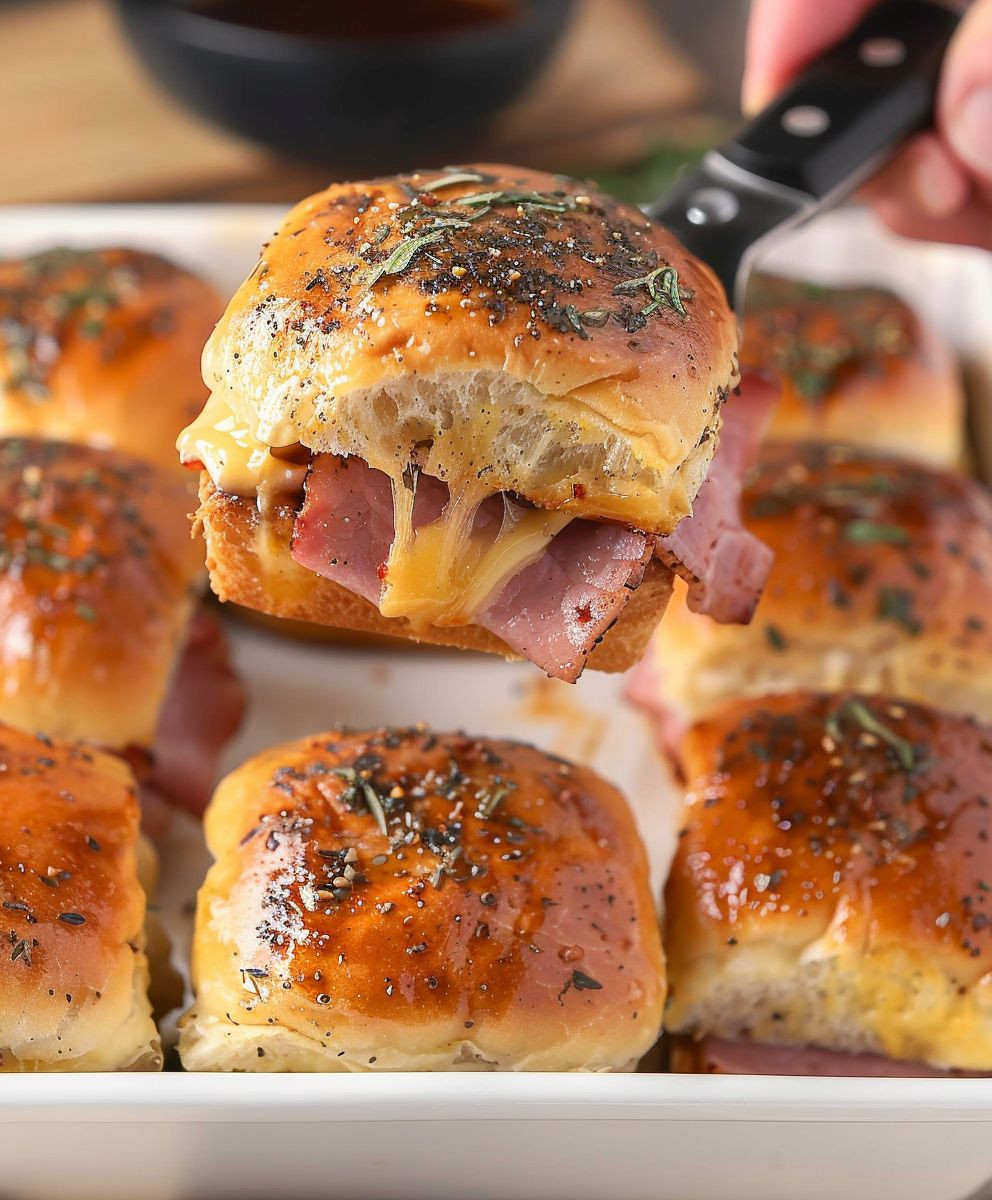
Ham and Cheese Sliders: A Culinary Classic Reimagined
Ham and Cheese Sliders – the very name conjures up images of cozy gatherings, backyard barbecues, and effortless entertaining. But these aren’t just your average sandwiches; they’re miniature masterpieces of flavor and convenience, perfect for any occasion. I’ve always loved the simplicity and satisfying nature of a good ham and cheese, and these sliders take that classic combination to a whole new level.
While the precise origins of the ham and cheese sandwich are lost to time, the combination of savory ham and melty cheese is a timeless pairing, found in countless variations across cultures. Think of the French croque monsieur, the Cuban sandwich, or even the humble grilled cheese – each a testament to the enduring appeal of this simple yet satisfying duo. The slider format, however, adds a delightful twist, offering bite-sized portions that are incredibly easy to eat and share.
What makes Ham and Cheese Sliders so beloved? It’s the perfect balance, really. The salty, slightly sweet ham provides a robust base, beautifully complemented by the creamy richness of the cheese. The soft, pillowy slider buns offer a delightful textural contrast, soaking up the delicious juices and creating a harmonious whole. And let’s not forget the convenience! These sliders are incredibly easy to prepare, making them ideal for busy weeknights or impromptu gatherings. Whether you’re serving them at a casual party or enjoying them for a quick and satisfying lunch, these Ham and Cheese Sliders are sure to be a crowd-pleaser.
In this recipe, I’ll guide you through creating the most delicious Ham and Cheese Sliders you’ve ever tasted, offering tips and tricks to elevate this classic to new heights. Get ready to experience the magic of perfectly balanced flavors and textures in every bite!
Ingredients:
- 1 pound ground beef (80/20 blend recommended)
- 1/2 cup finely chopped yellow onion
- 1/4 cup finely chopped green bell pepper
- 2 cloves garlic, minced
- 1 teaspoon dried oregano
- 1/2 teaspoon dried basil
- 1/4 teaspoon salt
- 1/4 teaspoon black pepper
- 1/4 cup ketchup
- 2 tablespoons yellow mustard
- 1/4 cup mayonnaise
- 1/4 cup pickle relish
- 12 slider buns
- 8 slices of cheddar cheese
- 8 slices of cooked ham
- Butter, for toasting buns
- Optional: lettuce leaves, tomato slices, dill pickle slices
Preparing the Meat Mixture
- In a large bowl, gently combine the ground beef, onion, green bell pepper, garlic, oregano, basil, salt, and pepper. I like to use my hands for this, it helps to evenly distribute the seasonings and break up any large clumps of beef. Avoid overmixing, as this can make the patties tough.
- Once everything is well incorporated, form the mixture into 12 small, equal-sized patties. I aim for about 2-3 inches in diameter, depending on the size of your slider buns. Make sure they are slightly thicker than the buns, as they will shrink a bit during cooking.
- Set the patties aside while you prepare the sauce and get the buns ready.
Making the Secret Sauce
- In a small bowl, whisk together the ketchup, mustard, mayonnaise, and pickle relish. I find that a good quality mayonnaise really elevates this sauce. Taste and adjust seasonings as needed; you might want a little more salt or pepper depending on your preferences.
- Set the sauce aside. You can even make this ahead of time and store it in the refrigerator until you’re ready to assemble the sliders.
Cooking the Sliders
- Heat a large skillet over medium-high heat. I prefer to use a cast iron skillet for even cooking, but any heavy-bottomed skillet will work.
- Add the beef patties to the hot skillet and cook for about 3-4 minutes per side, or until they are browned and cooked through. Use a meat thermometer to ensure the internal temperature reaches 160°F (71°C). Don’t overcrowd the pan; work in batches if necessary to ensure even browning.
- During the last minute of cooking, top each patty with two slices of cheddar cheese. Cover the skillet to help the cheese melt completely.
- Once the patties are cooked and the cheese is melted, remove them from the skillet and set aside.
Toasting the Buns and Assembling the Sliders
- While the patties are cooking, lightly butter the cut sides of the slider buns. I like to use unsalted butter so I can control the saltiness of the final product.
- Toast the buns in the same skillet (after removing the patties) for about 30 seconds per side, or until lightly golden brown and warmed through. You can also toast them in a toaster oven or under a broiler.
- Now for the fun part – assembling the sliders! Spread a generous amount of the secret sauce on the bottom half of each bun.
- Top with a cooked beef patty, two slices of ham, and any desired additional toppings such as lettuce, tomato, or dill pickle slices.
- Finish with the top half of the bun and serve immediately. These are best enjoyed fresh off the skillet!
Tips and Variations
- For a spicier kick, add a pinch of cayenne pepper or a few dashes of your favorite hot sauce to the meat mixture.
- Feel free to experiment with different types of cheese. Swiss, provolone, or pepper jack would all be delicious additions.
- If you don’t have slider buns, you can use regular hamburger buns and simply adjust the size of the patties accordingly.
- For a quicker meal, use pre-cooked ground beef or turkey. Just be sure to heat it through thoroughly before assembling the sliders.
- These sliders are also great for meal prepping. You can cook the patties and sauce ahead of time and assemble them just before serving.
- Leftovers can be stored in an airtight container in the refrigerator for up to 3 days. Reheat gently in a skillet or microwave before serving.

Conclusion:
So there you have it – my recipe for the ultimate Ham and Cheese Sliders! I truly believe this recipe is a must-try for several reasons. First, it’s incredibly easy. The preparation time is minimal, and the cooking process is straightforward, making it perfect for a weeknight dinner or a casual weekend gathering. Second, it’s incredibly versatile. You can easily adapt it to your own taste preferences and dietary needs, as I’ll explain below. And finally, and perhaps most importantly, the result is unbelievably delicious. The combination of savory ham, melty cheese, and perfectly toasted slider buns is simply irresistible. The flavors are balanced, the textures are delightful, and the overall experience is pure comfort food at its finest.
Speaking of variations, the possibilities are endless! For a spicier kick, add a dash of your favorite hot sauce to the cheese mixture before assembling the sliders. If you’re feeling adventurous, try swapping the ham for pulled pork, roasted turkey, or even thinly sliced steak. Different cheeses also offer a wide range of flavor profiles. Consider using Gruyère for a nutty and complex taste, pepper jack for a spicy bite, or provolone for a smooth and creamy texture. You can even experiment with different types of buns – pretzel rolls, brioche buns, or even mini croissants would all make fantastic alternatives to the classic slider bun. Don’t be afraid to get creative and make these sliders your own!
Beyond the variations, I also have some serving suggestions to elevate your Ham and Cheese Slider experience. Serve them alongside a crisp, refreshing salad for a balanced meal. A simple side of potato chips or french fries is always a classic pairing. For a more sophisticated touch, consider serving them with a side of creamy coleslaw or a flavorful potato salad. And don’t forget the dipping sauces! Aioli, honey mustard, or even a simple ketchup and mayonnaise mixture can add an extra layer of flavor and texture. These sliders are also perfect for potlucks, parties, or game day gatherings – they’re easy to transport and always a crowd-pleaser.
I genuinely hope you give my Ham and Cheese Sliders recipe a try. It’s a recipe that I’ve perfected over time, and I’m confident that it will become a staple in your own kitchen. The satisfaction of creating these delicious little bites from scratch is truly rewarding. Once you’ve made them, I’d love to hear about your experience! Share your photos and feedback on social media using the hashtag #HamAndCheeseSliders – I can’t wait to see your creations and hear about your culinary adventures. Remember to adjust the recipe to your liking, experiment with different ingredients, and most importantly, have fun! Happy cooking!
This recipe is more than just a meal; it’s an opportunity to create something delicious and share it with loved ones. The simple act of making these sliders can be a bonding experience, a way to connect with family and friends over a shared meal. So gather your ingredients, put on your apron, and get ready to create some truly unforgettable Ham and Cheese Sliders. You won’t regret it!
From simple weeknight dinners to impressive party appetizers, these Ham and Cheese Sliders are a versatile and delicious addition to any occasion. Their ease of preparation and customizable nature make them perfect for both novice and experienced cooks alike. So, what are you waiting for? Get cooking and let the deliciousness begin! Don’t forget to share your culinary triumphs with me – I’m excited to see what you create!
Ham and Cheese Sliders: A Recipe for Delicious Mini Sandwiches
Flavorful mini cheeseburgers with savory beef patties, melty cheddar, ham, and creamy secret sauce on toasted slider buns.
Ingredients
Instructions
Recipe Notes
- For spicier sliders, add a pinch of cayenne pepper or hot sauce to the meat mixture.
- Experiment with different cheeses (Swiss, provolone, pepper jack).
- Use regular hamburger buns if needed, adjusting patty size.
- For a quicker meal, use pre-cooked ground beef or turkey.
- Great for meal prepping; cook patties and sauce ahead of time.
- Leftovers can be stored in the refrigerator for up to 3 days. Reheat gently before serving.


Leave a Comment