
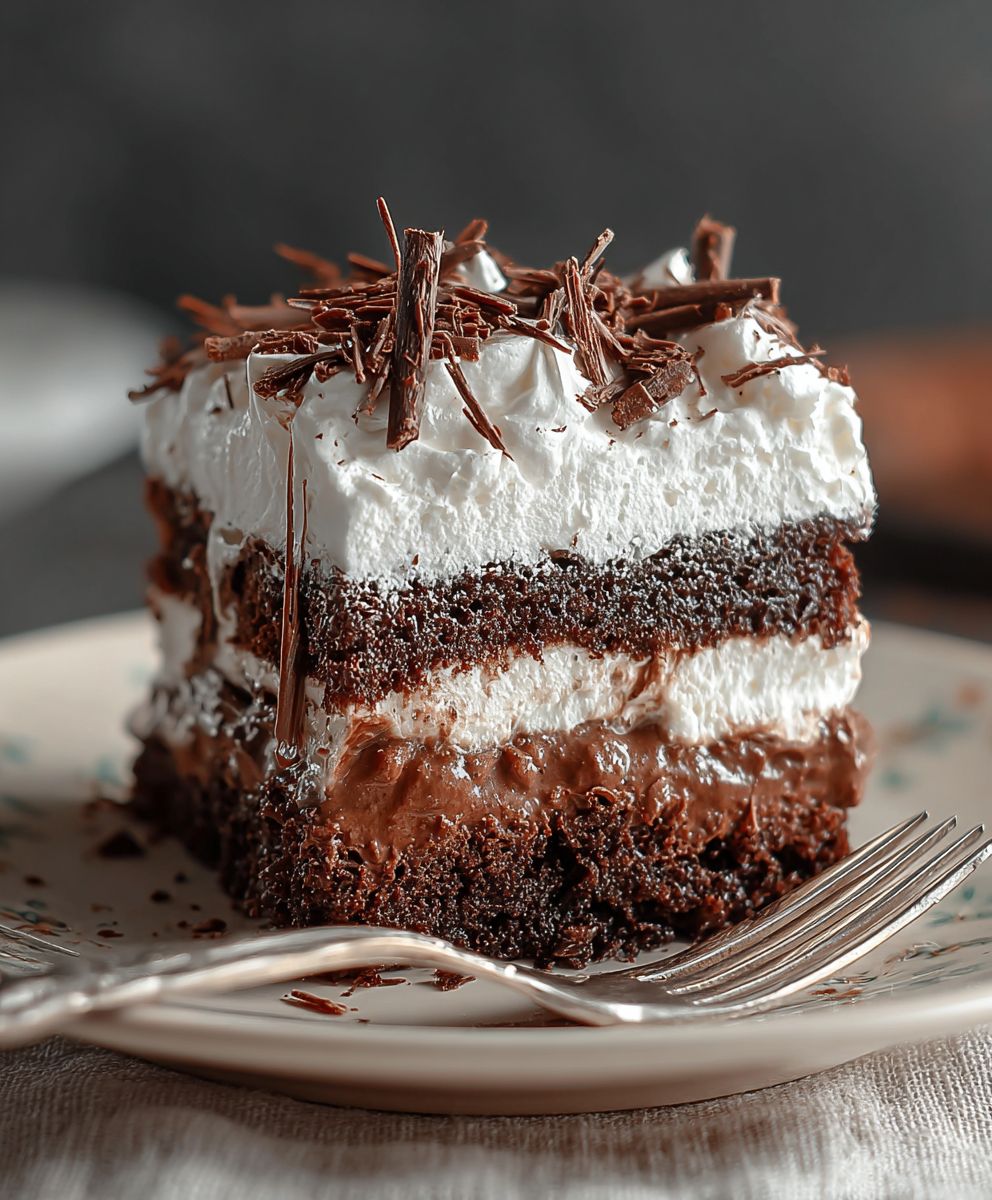
Brownie refrigerator cake: just the name conjures up images of effortless elegance and decadent delight, doesn’t it? Imagine sinking your fork into layers of rich, fudgy brownies, pillowy whipped cream, and perhaps a hint of your favorite fruit or chocolate shavings. This isn’t just a dessert; it’s a celebration of simple pleasures, a testament to the fact that sometimes, the most satisfying treats require minimal effort.
While the exact origins of the refrigerator cake are a bit hazy, its popularity soared in the mid-20th century, coinciding with the rise of convenience foods and, of course, the widespread adoption of the refrigerator itself! It became a staple in households across America, a go-to dessert for potlucks, family gatherings, and those moments when a sweet craving simply couldn’t be ignored. It’s a dessert that whispers of nostalgia, of simpler times, and of shared moments around the kitchen table.
What makes a brownie refrigerator cake so irresistible? It’s the symphony of textures and flavors, the contrast between the dense, chewy brownies and the light, airy cream. It’s the fact that it can be customized to your heart’s content, allowing you to incorporate your favorite ingredients and create a truly unique dessert. And let’s be honest, the no-bake aspect is a major win! Who doesn’t love a show-stopping dessert that requires minimal oven time, especially during the warmer months? So, are you ready to create a dessert that will impress your friends and family without spending hours in the kitchen? Let’s get started!

Ingredients:
- 1 (13×9 inch) pan of baked brownies, cooled completely (homemade or store-bought)
- 1 (8 ounce) package cream cheese, softened
- 1 (14 ounce) can sweetened condensed milk
- 1 teaspoon vanilla extract
- 1 (12 ounce) container frozen whipped topping, thawed, divided
- 1 (3.9 ounce) package instant chocolate pudding mix
- 1 1/2 cups cold milk
- 1 cup chopped pecans or walnuts (optional)
- Chocolate shavings or sprinkles, for garnish (optional)
Preparing the Cream Cheese Layer
Okay, let’s get started with the creamy, dreamy layer that makes this brownie refrigerator cake so irresistible! This part is super easy, I promise.
- Soften the Cream Cheese: First things first, make sure your cream cheese is nice and soft. If you forgot to take it out of the fridge ahead of time (we’ve all been there!), you can microwave it in 15-second intervals, checking in between, until it’s soft enough to easily blend. You don’t want it melted, just soft!
- Combine Cream Cheese and Sweetened Condensed Milk: In a large bowl, add the softened cream cheese and the entire can of sweetened condensed milk.
- Blend Until Smooth: Using an electric mixer (handheld or stand mixer), beat the cream cheese and sweetened condensed milk together until the mixture is completely smooth and creamy. There should be no lumps! This usually takes about 2-3 minutes on medium speed.
- Add Vanilla Extract: Stir in the vanilla extract. This adds a lovely depth of flavor to the cream cheese mixture. Just a teaspoon is all you need!
- Fold in Half of the Whipped Topping: Gently fold in half of the thawed whipped topping (about 6 ounces). Be careful not to overmix, as you want to keep the mixture light and airy. Folding is key here – use a spatula and gently turn the mixture over on itself until the whipped topping is just incorporated.
Preparing the Chocolate Pudding Layer
Now for the chocolatey goodness! This layer adds a rich, decadent flavor that complements the cream cheese layer perfectly. It’s quick and easy to make, so let’s dive in!
- Combine Pudding Mix and Milk: In a separate medium bowl, whisk together the instant chocolate pudding mix and the cold milk. Make sure you use cold milk for the best results!
- Whisk Until Thickened: Continue whisking the pudding mixture for about 2 minutes, or until it thickens to a pudding consistency. It should be nice and smooth, without any lumps.
Assembling the Brownie Refrigerator Cake
This is where the magic happens! We’re going to layer all the delicious components to create our masterpiece. Don’t worry, it’s not complicated at all. Just follow these simple steps.
- Crumble the Brownies: If you used store-bought brownies, or if your homemade brownies are particularly dense, you might want to crumble them slightly. This will make them easier to spread in the pan. If your brownies are already soft and fudgy, you can skip this step.
- First Layer: Brownies: In a 9×13 inch dish (glass or ceramic works great), spread the crumbled brownies evenly across the bottom. If you didn’t crumble them, you can simply place the brownie slab in the dish.
- Second Layer: Cream Cheese Mixture: Carefully spread the cream cheese mixture evenly over the brownie layer. Use a spatula to ensure it’s smooth and covers the entire brownie base.
- Third Layer: Chocolate Pudding: Gently spread the chocolate pudding evenly over the cream cheese layer. Again, use a spatula to create a smooth, even surface.
- Fourth Layer: Remaining Whipped Topping: Spread the remaining thawed whipped topping (the other 6 ounces) evenly over the chocolate pudding layer. This will be the top layer of your cake, so make it look pretty!
- Optional: Sprinkle with Nuts: If you’re using chopped pecans or walnuts, sprinkle them evenly over the whipped topping layer. This adds a nice crunch and nutty flavor.
- Garnish: For an extra touch of elegance, you can garnish the cake with chocolate shavings or sprinkles. Get creative and have fun with it!
Refrigerating and Serving
Patience is key! This brownie refrigerator cake needs time to chill and allow the flavors to meld together. Trust me, it’s worth the wait!
- Cover and Refrigerate: Cover the dish tightly with plastic wrap or aluminum foil.
- Chill for at Least 4 Hours: Refrigerate the cake for at least 4 hours, or preferably overnight. This allows the layers to set and the flavors to meld together beautifully. The longer it chills, the better it tastes!
- Serving: When you’re ready to serve, remove the cake from the refrigerator. Cut into squares and serve cold.
Tips and Variations
Want to customize your brownie refrigerator cake? Here are a few ideas to get you started:
- Different Brownie Flavors: Use different flavors of brownies, such as chocolate chip, peanut butter, or even blondies!
- Different Pudding Flavors: Experiment with different pudding flavors, such as vanilla, butterscotch, or even cheesecake!
- Add Fruit: Add a layer of sliced strawberries, raspberries, or bananas between the cream cheese and pudding layers.
- Chocolate Sauce: Drizzle chocolate sauce over the top of the cake before serving.
- Caramel Sauce: Drizzle caramel sauce over the top of the cake before serving.
- Crushed Cookies: Sprinkle crushed Oreos or other cookies over the whipped topping layer.
- Peanut Butter Cups: Chop up peanut butter cups and sprinkle them over the whipped topping layer.
- Espresso Powder: Add a teaspoon of espresso powder to the chocolate pudding mixture for a richer, more intense chocolate flavor.
- Liqueur: Add a tablespoon of your favorite liqueur (such as Kahlua or Baileys) to the cream cheese mixture for an extra touch of indulgence.
- Make it Gluten-Free: Use gluten-free brownies and gluten-free instant pudding mix to make this cake gluten-free.
Storage Instructions
Leftover brownie refrigerator cake can be stored in the refrigerator for up to 3 days. Make sure to cover it tightly to prevent it from drying out.
Enjoy!
I hope you enjoy this delicious and easy brownie refrigerator cake! It’s the perfect dessert for any occasion. Let me know in the comments below if you try it and what variations you come up with!
Conclusion:
This brownie refrigerator cake isn’t just another dessert; it’s a symphony of textures and flavors that will have everyone begging for seconds. The fudgy brownies, the creamy filling, and the optional crunchy toppings create a truly unforgettable experience. It’s the perfect make-ahead treat for potlucks, parties, or even just a special weeknight indulgence. Trust me, once you try this, you’ll be adding it to your regular baking rotation!
But what truly makes this recipe a must-try? It’s the sheer versatility! While the recipe as written is absolutely divine, feel free to get creative and personalize it to your own tastes. For a richer, more decadent experience, consider using dark chocolate brownies and adding a layer of chocolate ganache on top. If you’re a fan of nuts, chopped pecans or walnuts would be a fantastic addition to the filling or as a topping.
For serving suggestions, a simple dollop of whipped cream or a scoop of vanilla ice cream elevates this brownie refrigerator cake to a whole new level. You could also drizzle it with caramel sauce or hot fudge for an extra touch of indulgence. If you’re serving it at a party, consider cutting it into smaller squares for easy handling. And for a truly impressive presentation, garnish it with fresh berries or a sprinkle of cocoa powder.
Don’t be afraid to experiment with different variations! Try using different flavors of pudding in the filling, such as chocolate, butterscotch, or even pistachio. You could also add a layer of fruit preserves, like raspberry or strawberry, for a burst of fruity flavor. If you’re feeling adventurous, try adding a splash of coffee liqueur to the filling for a mocha-inspired twist. The possibilities are endless!
I truly believe that this brownie refrigerator cake is a winner. It’s easy to make, incredibly delicious, and endlessly customizable. It’s the kind of dessert that brings people together and creates lasting memories. It’s also a fantastic way to use up leftover brownies, if you ever have any!
So, what are you waiting for? Gather your ingredients, preheat your oven (if you’re making your own brownies), and get ready to create a dessert masterpiece. I’m confident that you’ll love this recipe as much as I do.
And now, for the most important part: I want to hear about your experience! Did you try this recipe? What variations did you make? What did your family and friends think? Share your photos and stories in the comments below. I can’t wait to see what you create! Your feedback is invaluable and helps me continue to improve my recipes and share them with the world. Happy baking! I hope this brownie refrigerator cake becomes a staple in your home, just like it has in mine. Enjoy!
Brownie Refrigerator Cake: Easy Recipe & Delicious Results
Easy no-bake brownie refrigerator cake with layers of brownies, cream cheese, chocolate pudding, and whipped topping. Perfect for any occasion!
Ingredients
Instructions
Recipe Notes
- For best results, chill the cake overnight to allow the flavors to meld.
- Storage: Leftover cake can be stored in the refrigerator for up to 3 days, covered tightly.


Leave a Comment