
Frozen Chocolate Mudslide Pie is a decadent dessert that promises to be the star of any gathering. Imagine a rich, velvety chocolate filling nestled in a crunchy cookie crust, all topped with a luscious layer of whipped cream. This delightful treat not only satisfies your sweet tooth but also offers a refreshing twist, making it perfect for warm weather celebrations.
The origins of the mudslide dessert can be traced back to the classic cocktail, which combines chocolate and coffee flavors, and has since evolved into various dessert forms. People adore this Frozen Chocolate Mudslide Pie for its irresistible combination of creamy texture and bold chocolate flavor, making it a favorite among chocolate lovers. Plus, it’s incredibly convenient to prepare ahead of time, allowing you to spend more time with your guests and less time in the kitchen. Join me as we dive into this delightful recipe that is sure to impress!

Ingredients:
- 1 ½ cups chocolate cookie crumbs (about 20 cookies)
- ½ cup unsalted butter, melted
- 1 cup heavy cream
- 1 cup sweetened condensed milk
- ½ cup chocolate syrup
- 1 teaspoon vanilla extract
- 1 cup semi-sweet chocolate chips
- ½ cup powdered sugar
- 1 cup whipped topping (like Cool Whip)
- Chocolate shavings or cocoa powder for garnish (optional)
Preparing the Crust
1. Start by preheating your oven to 350°F (175°C). This will ensure that your crust is perfectly baked and ready for the filling. 2. In a medium-sized mixing bowl, combine the chocolate cookie crumbs and melted butter. Mix them together until the crumbs are fully coated and the mixture resembles wet sand. 3. Press the mixture firmly into the bottom and up the sides of a 9-inch pie pan. I like to use the bottom of a measuring cup to really pack it down. This helps create a sturdy crust that holds up well when filled. 4. Bake the crust in the preheated oven for about 10 minutes. This step is crucial as it helps to set the crust and gives it a nice crunch. Once done, remove it from the oven and let it cool completely on a wire rack.Preparing the Filling
5. While the crust is cooling, let’s get started on the filling. In a large mixing bowl, pour in the heavy cream. Using an electric mixer, whip the cream on medium speed until soft peaks form. This usually takes about 3-4 minutes. Be careful not to over-whip, or you’ll end up with butter! 6. Once the cream is whipped, add in the sweetened condensed milk, chocolate syrup, and vanilla extract. Gently fold these ingredients into the whipped cream using a spatula. I like to do this slowly to maintain the light and airy texture of the whipped cream. 7. Next, melt the semi-sweet chocolate chips in a microwave-safe bowl. Heat them in 30-second intervals, stirring in between, until smooth and fully melted. Allow the melted chocolate to cool slightly before adding it to the filling mixture. 8. Once the chocolate has cooled, pour it into the whipped cream mixture. Gently fold it in until everything is well combined and you have a luscious, chocolatey filling. The color should be a beautiful, rich brown. 9. Finally, add the powdered sugar to the mixture and fold it in until fully incorporated. This will add a touch of sweetness and help stabilize the filling.Assembling the Pie
10. Now that your crust is cool and your filling is ready, it’s time to assemble the pie. Spoon the chocolate filling into the cooled crust, spreading it evenly with a spatula. I like to create a slight dome in the center for a nice presentation. 11. Once the filling is spread out, cover the pie with plastic wrap or aluminum foil. Place it in the freezer for at least 4 hours, or until it’s firm. If you’re making this pie ahead of time, it can be stored in the freezer for up to a week.Serving the Pie
12. When you’re ready to serve, remove the pie from the freezer and let it sit at room temperature for about 10-15 minutes. This will make slicing easier. 13. Using a sharp knife, cut the pie into slices. If you find the knife sticking, dip it in warm water and wipe it clean before making another cut. 14. For an extra touch, top each slice with a dollop of whipped topping and sprinkle with chocolate shavings or a dusting of cocoa powder. This adds a beautiful finish and makes it look even more indulgent. 15. Serve immediately and watch as your friends and family dive into this decadent dessert. The combination of the rich chocolate filling and the crunchy crust is simply irresistible!Storage Tips
16. If you have any leftovers (which is rare with this pie!), you can cover the pie with plastic wrap and return it to the freezer. It will keep well for up to a week. Just remember to let it sit out for a few minutes before serving again. 17. If you want to get creative, you can also experiment with different toppings. Try adding crushed nuts, caramel sauce, or even a drizzle of peanut butter for a fun twist! This Frozen Chocolate Mudslide Pie is a showstopper that’s perfect for any occasion. Whether it’s a birthday party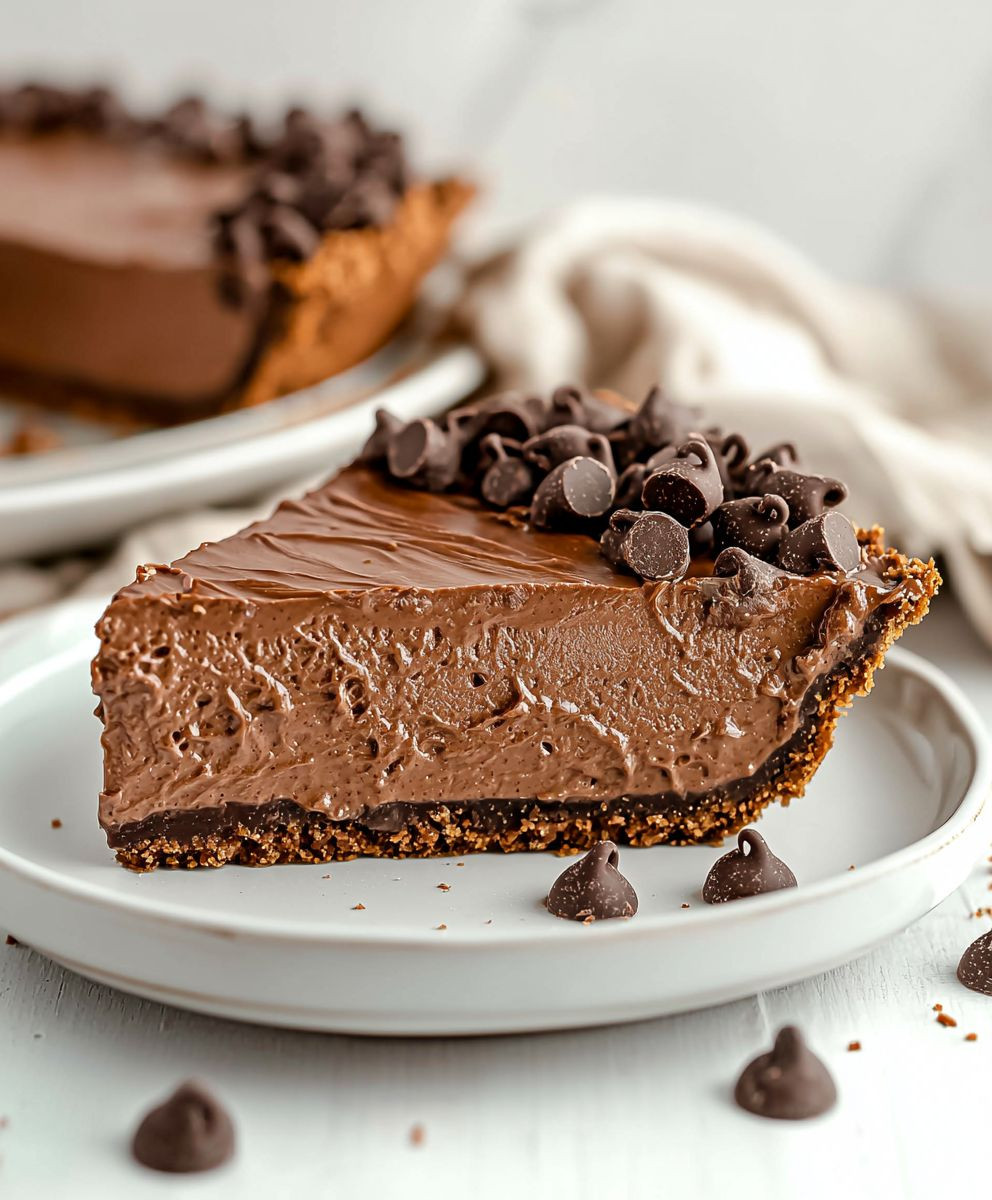
Conclusion:
In summary, the Frozen Chocolate Mudslide Pie is an absolute must-try for anyone who loves a rich, indulgent dessert that’s both easy to make and incredibly satisfying. The combination of creamy chocolate, a hint of coffee, and a crunchy crust creates a delightful experience that will leave your taste buds dancing. Whether you’re hosting a dinner party, celebrating a special occasion, or simply treating yourself after a long week, this pie is sure to impress. For serving suggestions, consider topping each slice with a dollop of whipped cream and a sprinkle of chocolate shavings for an extra touch of elegance. You can also experiment with variations by adding a layer of caramel sauce or incorporating your favorite nuts into the crust for added texture. If you’re feeling adventurous, try swapping out the chocolate for a different flavor, like peanut butter or mint, to create your own unique twist on this classic dessert. I encourage you to give this Frozen Chocolate Mudslide Pie a try and share your experience with friends and family. I’d love to hear how it turns out for you! Don’t forget to snap a picture and tag me on social media so we can celebrate your delicious creation together. Happy baking! Print
Frozen Chocolate Mudslide Pie: Indulge in This Decadent Dessert Recipe
- Total Time: 280 minutes
- Yield: 8 servings 1x
Description
Enjoy a decadent Frozen Chocolate Mudslide Pie featuring a crunchy chocolate cookie crust and a rich chocolate filling. This creamy dessert is perfect for any occasion and will surely delight your guests!
Ingredients
- 1 ½ cups chocolate cookie crumbs (about 20 cookies)
- ½ cup unsalted butter, melted
- 1 cup heavy cream
- 1 cup sweetened condensed milk
- ½ cup chocolate syrup
- 1 teaspoon vanilla extract
- 1 cup semi-sweet chocolate chips
- ½ cup powdered sugar
- 1 cup whipped topping (like Cool Whip)
- Chocolate shavings or cocoa powder for garnish (optional)
Instructions
- Preheat your oven to 350°F (175°C).
- In a medium-sized mixing bowl, combine the chocolate cookie crumbs and melted butter. Mix until the crumbs are fully coated and resemble wet sand.
- Press the mixture firmly into the bottom and up the sides of a 9-inch pie pan.
- Bake the crust for about 10 minutes. Remove from the oven and let it cool completely on a wire rack.
- In a large mixing bowl, pour in the heavy cream and whip on medium speed until soft peaks form (about 3-4 minutes).
- Gently fold in the sweetened condensed milk, chocolate syrup, and vanilla extract into the whipped cream.
- Melt the semi-sweet chocolate chips in a microwave-safe bowl in 30-second intervals, stirring until smooth. Allow to cool slightly.
- Pour the cooled melted chocolate into the whipped cream mixture and gently fold until well combined.
- Add the powdered sugar and fold until fully incorporated.
- Spoon the chocolate filling into the cooled crust, spreading it evenly.
- Cover the pie with plastic wrap or aluminum foil and freeze for at least 4 hours, or until firm.
- When ready to serve, remove the pie from the freezer and let it sit at room temperature for 10-15 minutes.
- Cut into slices using a sharp knife (dip in warm water if needed).
- Top each slice with whipped topping and sprinkle with chocolate shavings or cocoa powder if desired.
- Serve immediately and enjoy!
Notes
- Leftovers can be covered and stored in the freezer for up to a week.
- Feel free to experiment with toppings like crushed nuts, caramel sauce, or peanut butter for a fun twist!
- Prep Time: 30 minutes
- Cook Time: 10 minutes


Leave a Comment